






header

Showing posts with label Colette. Show all posts

Wednesday, May 20, 2015

Completed: Morris x2!


I have been stocking up on knit fabrics lately, and the one thing I feel the sewing world is lacking is a good set of knit patterns.

Grainline went and introduced Morris, and it’s a total show stealer. And just like those Watsons, I’ve gone ahead and made not one, but two!

Version 1 is made up of a blue floral textured double knit and a standard cotton lycra knit for the arms. This was my first time working with a double knit and it was amazing, and now I want to make everything out of double knit. This was stable and plush. It took topstitching very well.


I did not press well, unfortunately, but I was able to get the collar and shawl front to hold some shape because of the knit interfacing.

This photo is the most accurate portrayal of colors.


This is a super fast make, with a back, front sleeve, and the facings. The instructions are clear, and if you’ve been sewing for a long time, you may not even need to look at them.


I did go a little off book for the cuffs, though. I did not interface the cuff facings. Instead, I did not trim the seam allowance, folded it up towards the shoulder seam, and then folded the cuff edge down to meet in the middle with the SA. I then flipped that whole business over to the inside of the sleeve and topstitched from there. This was stable enough, and felt decidedly less fiddly than interfacing and trimming. So slapdash.


Version 2 is baaaaasically the same jacket, but in a *different* colored textured double knit!


I made this up in about 2 hours, including cutting! I also fibbed and didn’t gather the sleeves before setting them. What can I say, I’m lazy! Next time I’ll actually try setting them in flat and then serging up the side and arm seams all together.


Since the jacket is made of knit, it’s so easy to wear. I feel dressed up but I’m as comfortable as wearing pajamas.

Lastly, because it’s Mabel Month over at Colette Patterns, I uh, made a #POWERSUIT?


It looks less #POWERSUITY by itself:


Don’t judge. Mabel is a fantastic pattern, and I’ll be posting my full thoughts and other makes on it soon.

Monday, November 12, 2012

Fitting Issues with the Peony

Fellow sewists, do you ever have such a frustrating time with pattern alterations that you just want to throw in the towel all together?
That is kind of where I'm at. The peony. Let's talk about it.


The bodice is super simple, with just four darts in front and four in back. The trouble with super simple, is that it is NEVER REALLY THAT SIMPLE. I knew going in that the darts were the only key to fit, so I actually cut a muslin for the bodice. I've done that....never. First time for everything, right?

Lots of pooling across the bust
Very bad back/neck gape

So much extra fabric...everywhere.

Please ignore the weird look on my face and my super awesome fluffy sheep pajama pants. No, wait. Don't ignore the fluffy sheep, because THEY'RE AWESOME.

Ahem, where were we? I have struggled with these darts to the point of frustration, so I am setting aside the Peony for the second time. I love Colette Patterns for their designs, but they aren't practical for me without a LOT of changes to the bust.

Don't get me wrong. I WILL make this pattern at some point because I truly love the simple lines of the dress, but I have a lot of work to do on the fitting side of things.

1. Eliminate pooling/excess fabric across bust
This can likely be fixed with an SBA and dart repositioning.

2. Fix gaping at neck back.
I don't know how to fix this. Rochelle noted that she had the same issue, and would fix one area, but it would create problems in another.

3.Shorten shoulder width and neck opening.
The outer shoulder seams sit beyond my shoulders because I'm petite. I will have to shorten the opening for the neck, pulling everything closer to center by a tiny amount. I don't know HOW to do this yet, but I believe that's what I need to do. I am wondering if that will alleviate some of the gaping?

In closing, this is a great silhouette and I wasn't surprised that I would have to make heavy alterations to make this fit, but I will need to put it on the back burner for just a little while longer.

Friday, March 16, 2012

Colette Violet

Last Friday, Made Sewing Studio here in Seattle hosted Sarai from Colette Patterns.

They announced there would be a discount for patterns purchased at the event, as well as an extra special 10% for those who showed up in a garment made from her line.

I originally bought the Violet because I saw Lauren's version and fell in love. Seriously, how adorable is that??

I took this opportunity as a challenge to put together the violet in a week. Put it together I did, however, I had one small (haha, see what I did there?) issue. The smallest size was measured at a bust 33", which is a full 3 inches larger than my bust measurement. Whatever is a girl to do?!

I traced off the pattern and using the "slash and spread"(overlap) technique, I made this sucker fit me.

I relied heavily on this article in threads magazine. Seriously. If you ever need to grade patterns, print that out. I did, and laminated it. That's how serious I am, it was a real help. I don't have any books on fit and grading, but I'm starting to think it might be a good idea to keep my eyes peeled for such things, especially given the sizing for the big 4 patterns.


So here's the top:


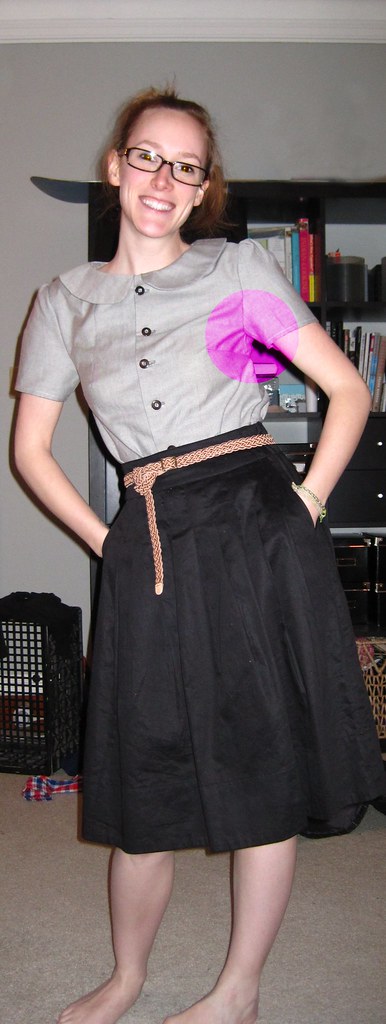
Let's talk about armscyes for a minute. I think mine are too low. The reason for that is when I lift my arm, SERIOUSLY limited range of motion, and it picks the blouse up which is really annoying.


On the photo on the left, you can see where the garment sits. On the photo on the right, I've drawn in the approximate line of my arm and arm pit. The red indicates the gap between the two. Other than that issue, I really love this pattern. If anybody has any ideas or tips, please comment. I can use the direction!

Oh, I also wondered how other people finish their arm-seams. I finished the sides with french seams and zig-zagged everything else, but I'm really clueless about arm finishes. This really is the first garment I've put together that has traditional sleeves. After the minoru I'm tempted to put raglan sleeves on everything!!


I used these wonderful tortoiseshell with metal accent buttons. The fabric of the shirt is a bit of an industrial blue/grey and I was worried that it would start to look like a uniform.

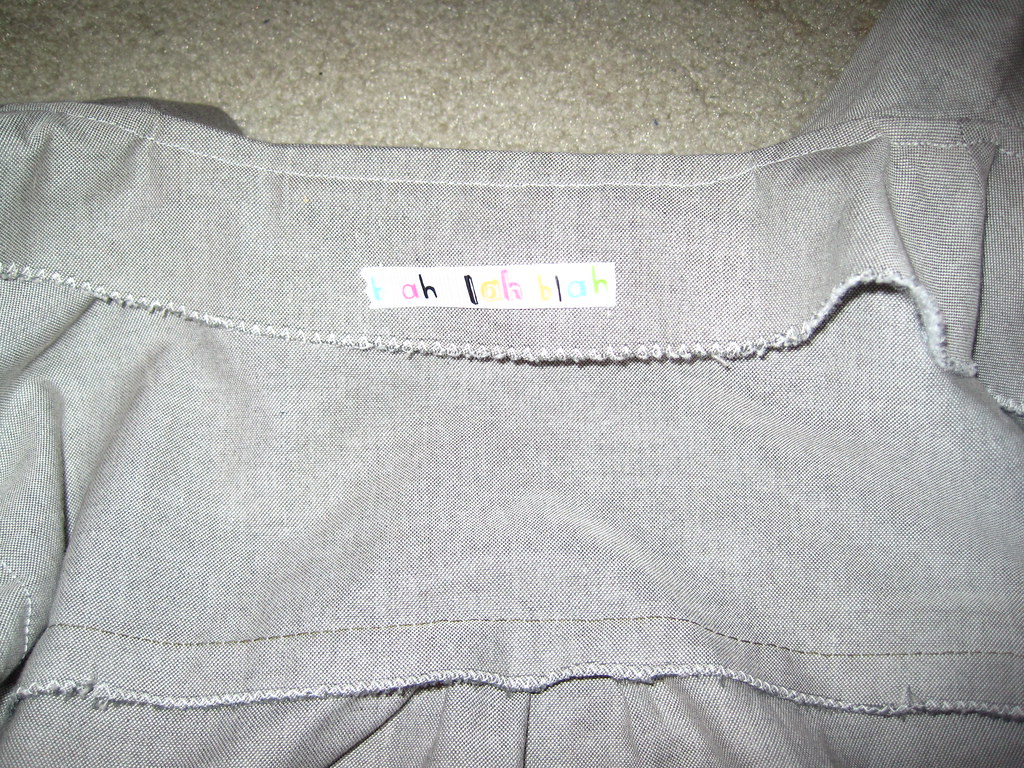
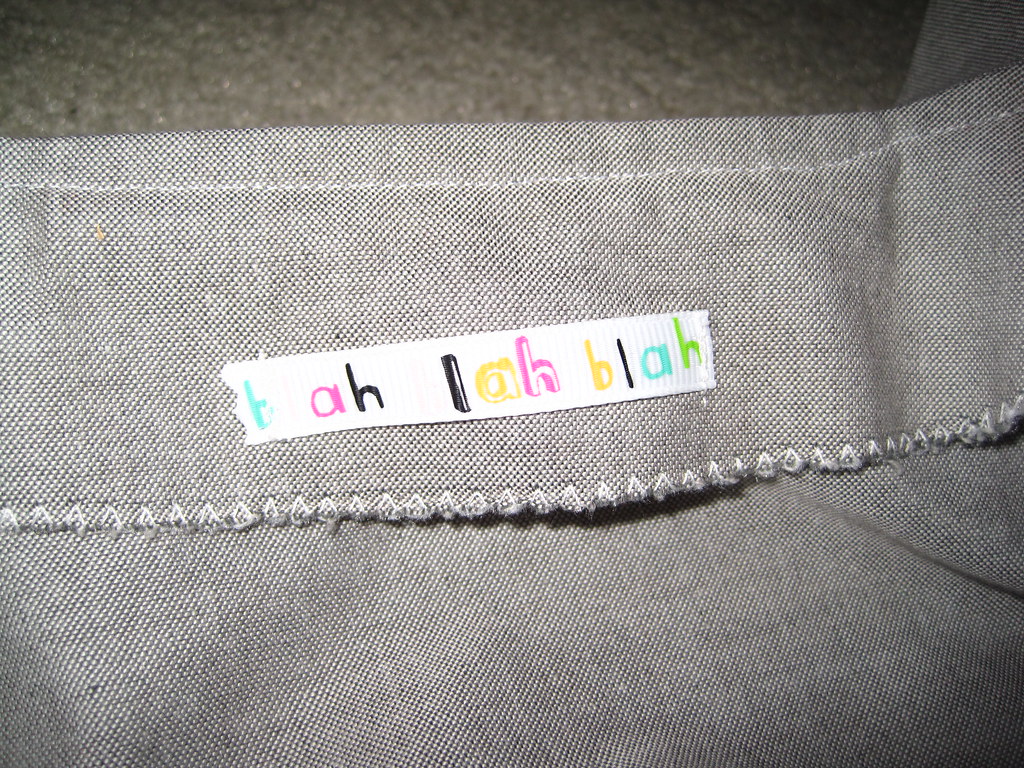
And a close up of my "blah blah blah" tag. It's just printed ribbon.


Once I've ironed out the sleeve fitting, I plan on making another one as part of my spring/summer wardrobe.


On another note, I took all of the plastic casing off of my machine this evening and checked everything out. I think it's really important to see how things work so you are a bit more educated on how they can be fixed. While I had it all taken apart I also oiled my machine. Oddly enough, my user manual recommends at least once a year, while some various sources on the internet recommend an oiling after every 8 hours of sewing. How often do you oil?

Friday, December 9, 2011

Yarn & Knitting

YARNS!
I love ordering wares from the internet. I'm probably most excited about the green holiday yarn. I see a lot of knitting in my future for the weekend, as most of these yarns will be turned into handmade christmas presents.


I really enjoy knitting with the Lion Homespun, it's got enough body to provide added texture to a basic piece, but it's still soft, unlike the popular Red Heart product, also by Lion.

I recently made a cowl with "Praire" colorway, which is a mix of dark greens/neutrals sprinkled with unexpected jewel tones. It was super fast to knit up in the round and I wear it quite a bit.

An added update on the Bloomers: I was able to get the casings sewn and thread the elastic through. Failure and/or lack of foresight: didn't exactly *measure* the elastic, and it's turned out a bit snug. As the other reviews on this pattern have mentioned, these are VERY low.  I sense some quality time with my seam ripper is coming up.


Thursday, December 8, 2011

Colette Madeline Mini-Bloomers

I've had quite the time with this pattern, the Colette Madeline Mini-Bloomers.

 My first try was in late September/early October, but I was rushing through. I didn't finish any of the seams, and when you're trying to feed 4 casings full of tiny elastic... it just doesn't work.

Fear not! I'm coming to a close on Mom's shirt (New Look 6754, review soon!) and wanted to work on something somewhat easy for myself.


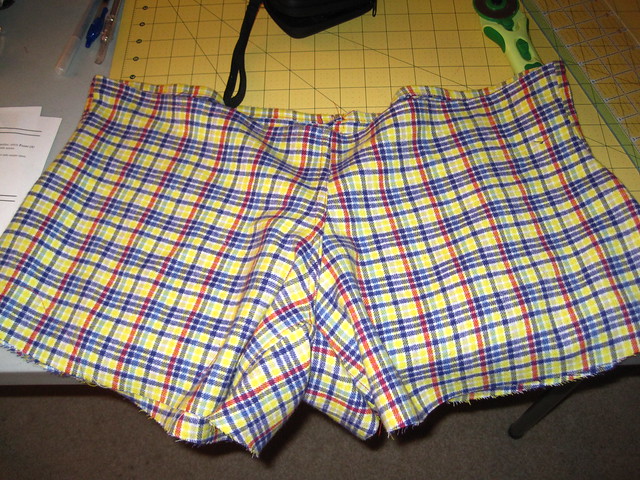
This pattern calls for a lightweight fabric, I'm imagining something boxer-shortsesque. I really wanted a plaid flannel version, and I remembered I had this fabric in the stash, collected from my Mother years ago. I had over four and a half yards!

Last night I cut out and assembled the shorts, and tonight I'll construct the casings, hopefully feed elastic and hem.  I was in a hurry and only took two photos, but here they are! I didn't take the time to match plaids, that will be for another day.

Short overview


My first flat felled seam!


Updates soon!

Wednesday, December 7, 2011

Colette Patterns!

Even though I'm mid *several* other projects, I just received both the Peony and the Violet. I can't wait to try them out! I've seen so many awesome variations of the Peony, and I have been looking for 3/4 length sleeve dresses for winter. I have the perfect suiting in my stash, even!


Previous Post Home