






header

Showing posts with label shirtmaking. Show all posts

Monday, May 18, 2015

Completed: Floral Archer Popover, in a Knit!


I made Western Shirt for ManFriend and then all the sudden my head exploded about shirt making and how awesome it is.

The thing for me, though, is that I don’t tend to wear button up shirts. I own several, and they’re nice, but I don’t end up wearing them. I realize that this is partially because most of them are white, and I usually ruin anything that’s white. It's also partially because they don't fit me correctly.


I like the idea of the popover style, because you get the fanciness of a button up, but the safety of a shirt that isn’t buttons all the way down.

I got this floral cotton knit in a KnitFix shipment from GirlCharlee, and it screamed archer to me.


I used Pam Erny’s two piece sleeve placket (I’ll never use another placket again, basically) for the sleeves, and extended it to about 11” for the front placket.


(I’m trying to show you the sleeve placket!)

The first sleeve placket I didn’t interface, which I think as a mistake. I ended up using some knit fusible interfacing for the second one and it went off much better.


I made a size 0, and aside from the plackets and pop-over, didn’t make any other modifications. I know this is supposed to be a very slouchy, loose fit, but I’d like to take the shoulders in a touch. Other than that, the sleeve length is great, and the overall length is perfect, too.


I used white pearl snaps instead of buttons. Highly recommend this pattern!

Monday, May 11, 2015

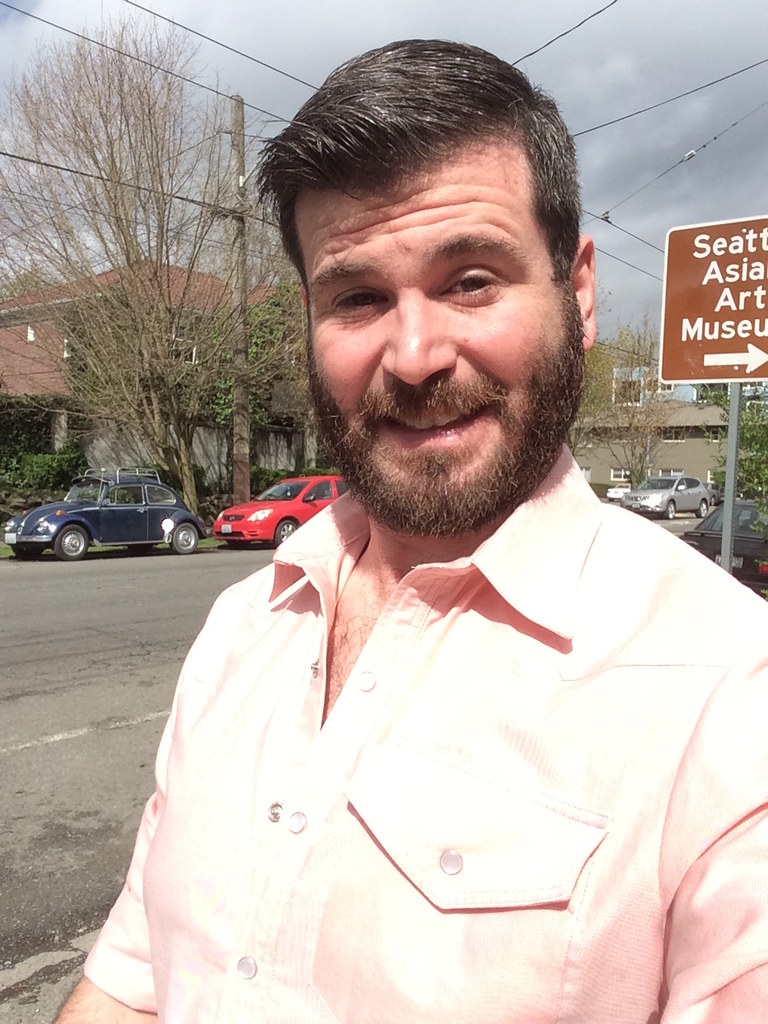
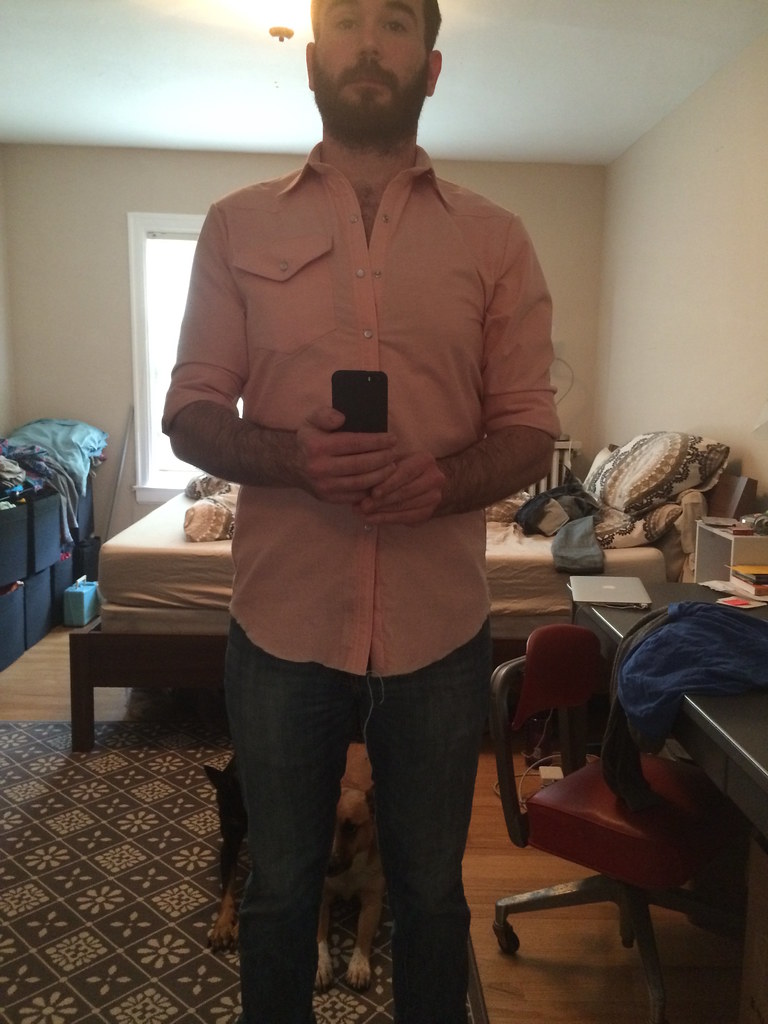
Completed: A Pink Western Shirt for Him

I’ve been bit by the shirt making bug!

Enter: McCalls 6044, View E. I’ve seen this made up a few times around the internet, so I got out the measuring tape and ended up tracing a Medium. The fit is spot on, though according to the size chart I should have done a Large in the chest. As a rule I always look at the finished measurements, which is a good rule of thumb when it comes to the big 4, in my opinion.


This was one of my first finished garments on my new sewing machine, and the topstitching on the pocket really transforms this from being just a handmade garment to really having that professional finish.


The pattern has you just place the front and back yokes directly onto the shirt front/back and topstitch it down. This gives a really nice clean finish.


Completed pocket with Pearl Snap. This was my first go with Pearl Snaps, and I have mixed feelings. I bought some cheap dritz brand ones, and I do not recommend them. These, from Snap Source, however, are AMAZING quality and super fast shipping. I am using the dritz tool to install them, but I think the tool is for smaller snaps, so I’m alternating between using the tool and just using some pliers. I have since used snaps on another project and accidentally cracked one using the dritz tool.


Cuff attached, waiting for snaps. Loads of topstitching, but it really makes the shirt!


Front placket while being worn. I used the standard placket that comes with the pattern, but after being assembled, it turns out that the top placket is a little on the small side. I have since made changes to that pattern piece so that it’s about 1/2” larger. I also want to experiment with extending the right front piece so that the under-placket is just folded under.


Practice Sleeve Plackets. For these I used Pam Erny’s two piece placket tutorial, and it is something amazing. I highly recommend everyone try this out. Her instructions are incredibly clear, there are tons of photos and she roots for you along the way. These are my first plackets, and I think they turned out GREAT!


Nearly finished! I also converted the two-piece sleeve into a single piece by just overlapping the sleeves at the stitch lines, and then traced it as one piece. I serged the side seams in a fun blue color (also: I was lazy and didn’t want to rethread my serger) but next time I’ll probably french-seam because he likes to wear his shirts with the sleeves rolled up.


I think that's about it? I've got three more cut out (Yikes, they've been sitting there for a MONTH!) and just completed the fourth that was cut out. I'll blog those all in one post, I think.


Previous Post Home