






header

Wednesday, March 7, 2012

What does your sewing space look like?


Friends, do you have a dedicated sewing space? I remember as a child, my mother dragging her sewing machine out each night after the dinner table was cleared, pins clattering against the wood, the ironing board set up behind her but close enough to the table so she could set the iron on the table instead of the board. Does anybody else do that?

When I started to sew, I lived in a very tiny studio apartment. I would drag out my ironing board, and set my sewing machine up on my coffee table, sewing while sitting on my couch. If I needed to cut something, I cleared the coffee table and cut, then put everything back to continue my work. What a mess it was!

A few years ago, I had a dedicated sewing room. It was delightful, and I wish I had taken advantage of it more than I did. This room was wonderful because I could keep the ironing board out at all times, keep the machine set up on a separate table and have a dedicated cutting and layout area.

My set-up today, is more shared living room, but unlike the tiny studio, the living room is quite large. I've arranged the floor plan in such a way that I can face my computer and watch/listen to movies while I'm working.

I'm curious, if you have both a serger and a sewing machine, do you keep them set up and out all the time?
I've also seen sewing rooms painted brilliant colors, but I worry that detracts from fabric or could reflect back on fabric poorly, specifically when draping, as shadows play such a huge role.

Here are some sewing spaces I found on the internet:

source
I love the light colors. The shelves provide storage space close to hand and the table provides great working area.

source
I love the use of shelves and storage baskets. The tiny shelf where the machine is sitting isn't realistic at all, in my opinion, but would be a good place to store the machine when not in use.

source
This room is amazing. I'm drawn to shelves and anything arranged by color. The original post that I sourced the photo from details the room in many different stages of use.


I keep telling myself to take photos of my sewing space, but keep forgetting to when the light makes it easy.
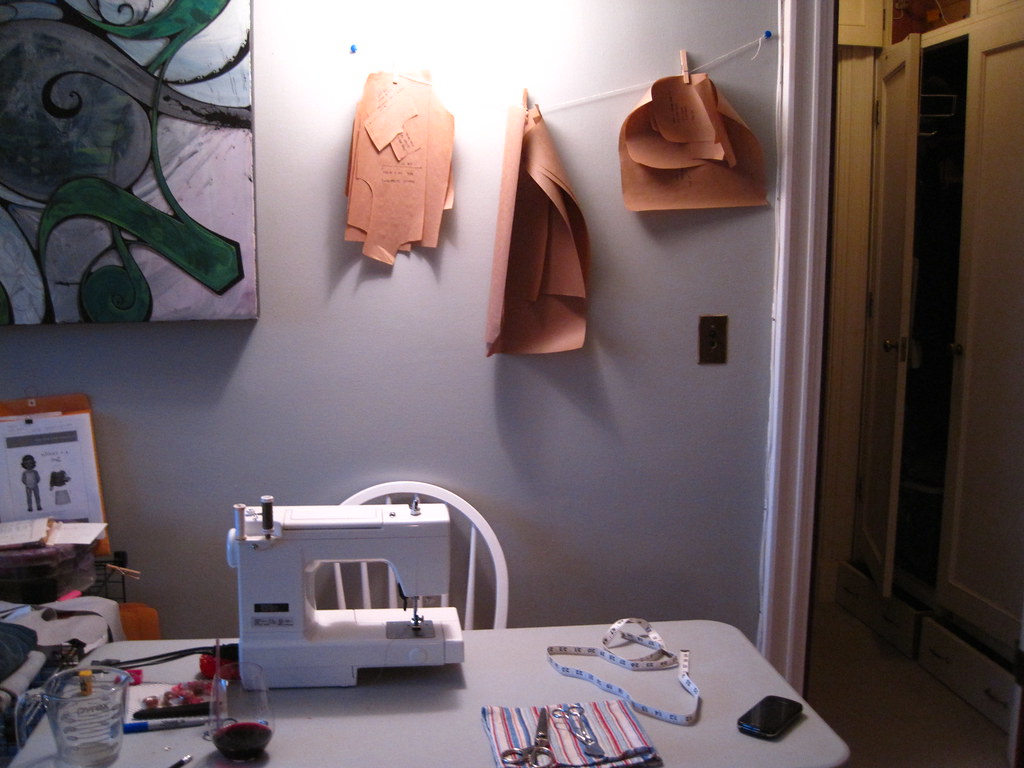
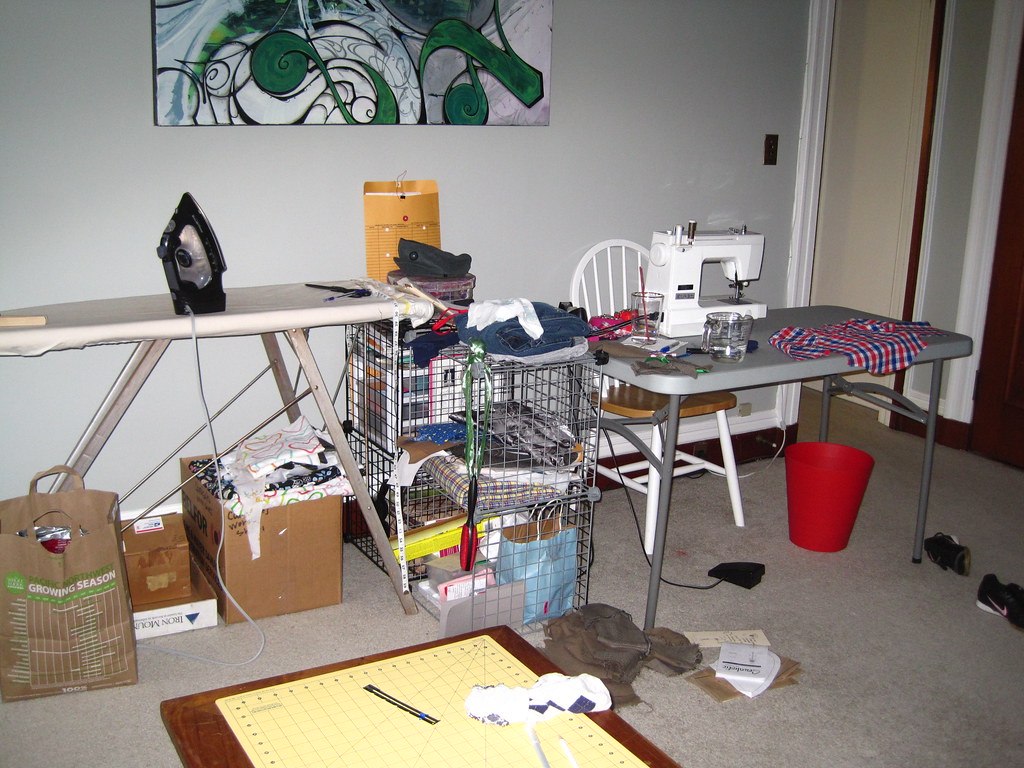
String and Clothespins for current pattern pieces. Get them off the floor!


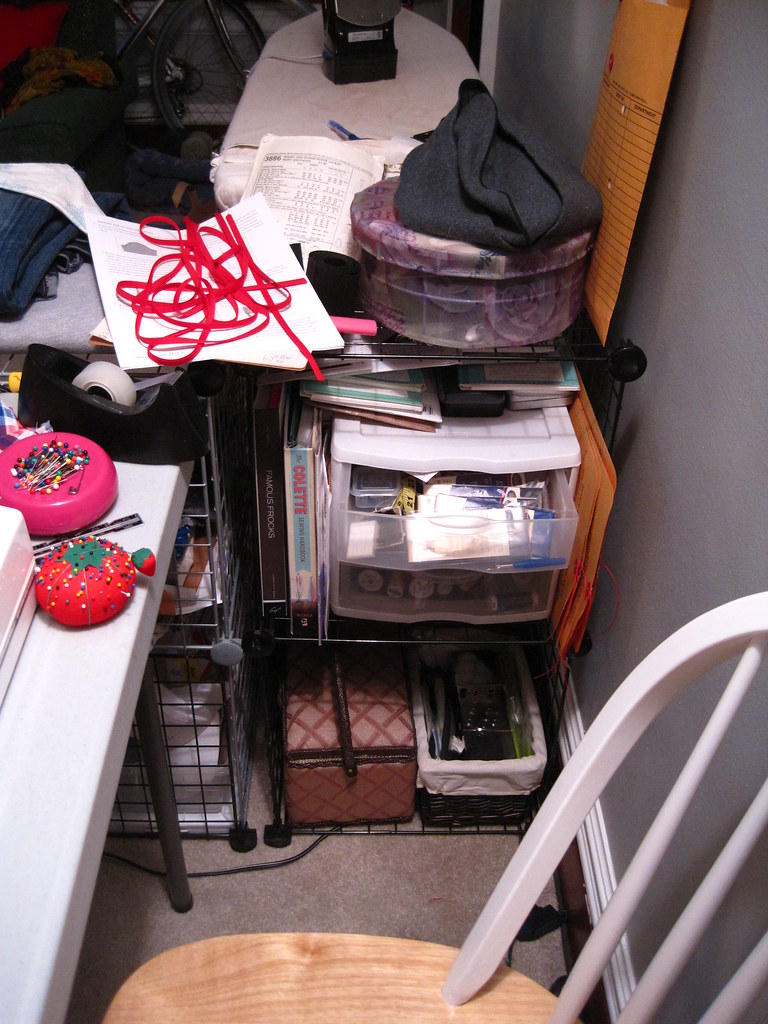
Ironing board on the left, shelves between the table and ironing station.

A peek at my shelves. Those three drawers house notions and various cutting tools.


Pardon the mess!


I also recently picked up some storage boxes that are sized perfectly for patterns from Ikea. I'll have to double check the model numbers, but they were from this line.

I'm currently working on a Colette violet blouse, and have learned a lot about the slash and spread method for pattern grading, as the smallest size is still a bit too big.

I need to: take photos of the completed Sailor Outfit before it is out of my hands and finish up the Violet blouse.

Here's where it was at last night:

One sleeve.

Friday, March 2, 2012

New Marking Tools!

I'm so excited about the mail delivery today, friends!

Back in the beginning of February, Did You Make That featured a chalk set she had purchased, on this post. I've been thinking about marking and tracing tools for some time now, and realized that my marking tools were really lacking.

I have the traditional chalk tool ensconced in plastic.


I have a "chalk" fabric marking pencil. This doesn't work, and every time I have to use it, I lose faith in ever having a proper mark to be found.

source
I also have a fabric "marker", but that doesn't seem to work very well for me either.


So I ordered the Signet Color set from hoechstmaß. Made in Germany, and sold via sewdirect.com.
It's an identical set to one manufactured by Dritz, but I was never able to find the Dritz version in any of the sewing stores here in Seattle. I've heard rumors I should have checked the quilting section!

I also use tailor's tacks, but they're time consuming and thread tracing doesn't make sense most of the time. (I hate hand sewing, and recently learned my machine can stitch buttons on for me! More on that ultimate bit of laziness later!)


The German version came in a fancy plastic case to keep everything together. Compare the Dritz with the one I received:


While They both offer the same product, I feel like the hoechstmaß offered a better presentation, and I love that I can keep my entire set together and protected from breakage.

Do any of you have favorite marking tools?

I just finished up the Sailor Outfit, and once I get a chance to take some decent photos, I'll be writing a post about it! I can't wait to use this marking set for my Mad Men Dress Challenge (as hosted by Juliabobbin!) If you're not on board, you totally should be!

Tuesday, February 28, 2012

Mad Men Challenge

Julia over at Julia Bobbin is hosting a Mad Men Dress Challenge!

And I'm just crazy enough to throw my name in the hat!

I am obsessed with the 50's and 60's silhouette.

Poetry night at my house. Dress from H&M, several years ago.

Christmas Buche de Noel

You can sort of see the trend, here. I'm curvy enough that this silhouette works for my body type.

So, let's see my inspiration list, right?

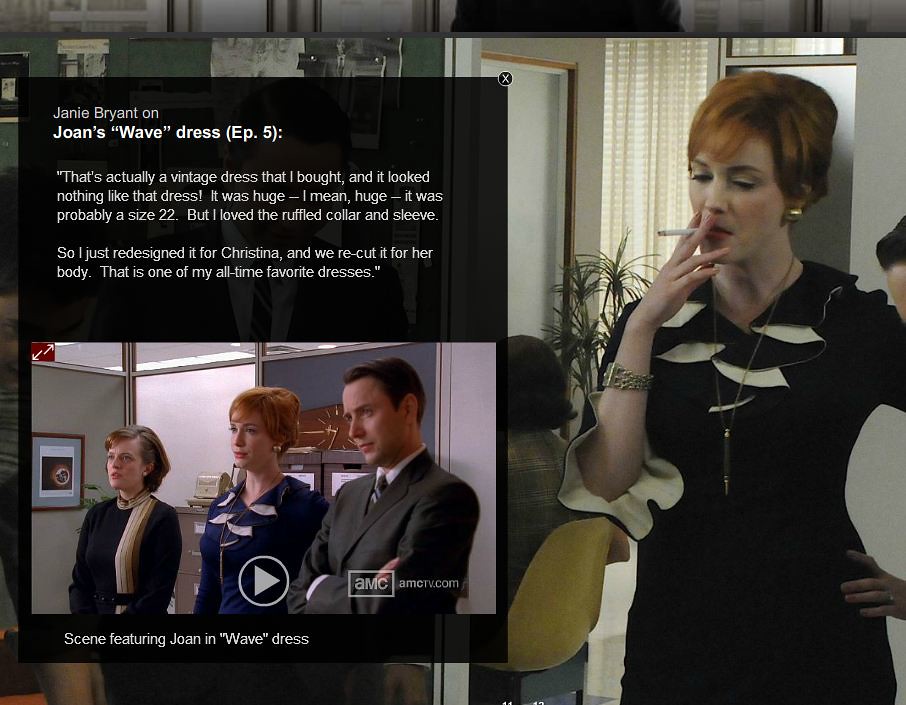
Considering this Joanie Dress. I love the neck detail. It reminds me of the free Burda Coffee Date Dress from The Selfish Seamstress.


A plane-jane Peggy dress. It looks to be half button with a peter-pan collar, bow and a belt.


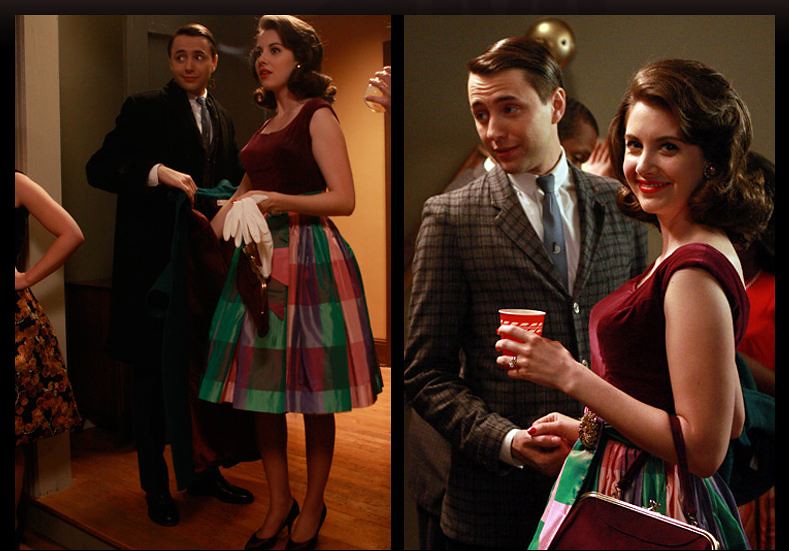
I also really LOVE Trudy's party dress from Season 2. The combination of velvet and giant scale plaid, LOVE.
Click for larger detail!


The front sash/tie detail is great. The neck line is great. I'll have to search through my patterns to see if I've got something that follows the basic lines.

And then there is this one. I love the lines. I love the color. But it looks technical in a way that quite frankly scares me.


I'm also having a hard time finding a collection of photos from the show, so I have started watching old episodes. I know, the things I do for the craft!

What dress did you select? Are you modifying a pattern or drafting your own?

Monday, February 27, 2012

A new way to follow my posts!

I've signed up for an account over at bloglovin! I hope you'll add me to your favorites!

bloglovin

Sailor Outfit

Dearest friends:

I have been horrible about blogging of late, or possibly historically. I originally started this blog about 4 years ago. Then I stopped sewing due to life, and picked it back up again. Just because I haven't been blogging, that doesn't mean I haven't been sewing! Hoo Boy! No! I've been so busy.

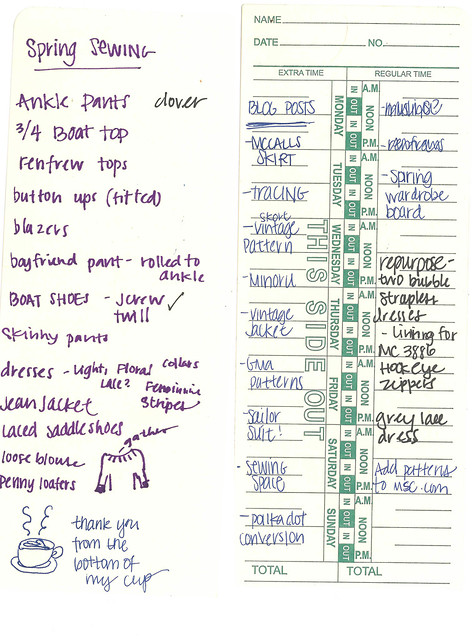
First, I'd like to share with all of you, the list that I made, which details the things I wanted to get done this weekend. I left the list on my desk on Friday. BOOOO!

 What started as a small list, turned into a two sided list. The first of which was simply a list of blog topics I had. The second was my spring wardrobe plan!

As you can see, I've got HUUUUGE aspirations.
Now. My goal is to post at least once a week, even if it is just a single photo of what I'm working on. 


Here is something I recently finished:
A pair of tiny pants for an upcoming tiny human!
Oliver + S Sailboat Pants!
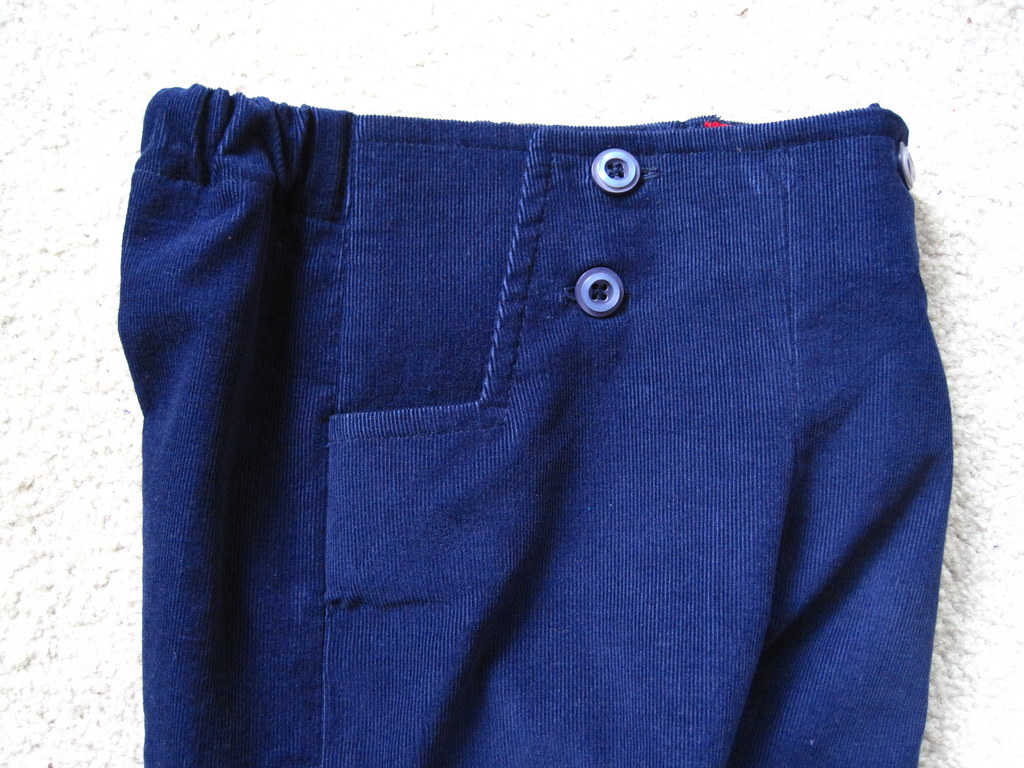
The Oliver + S Sailboat Pants are amazing. They came together really well, after a short mishap with my sewing machine's automatic buttonhole feature. Yes, I did indeed make SEVENTEEN practice holes to finally figure out what was going wrong.

In the end, I garnered success and the pants are put together. I finished most of the seams with a red bias tape. I used baby whale navy blue corduroy. That stuff is extremely fuzzy. I pre-washed all my fabric, and Holy Fire Hazard in the lint trap! The fuzz all over my sewing table at this point is enough to card together to make another piece of fabric. 

Let's see more shots, shall we?
BAM! Buttons! Button Holes! Topstitching!
I love the shape of the "pocket" area.
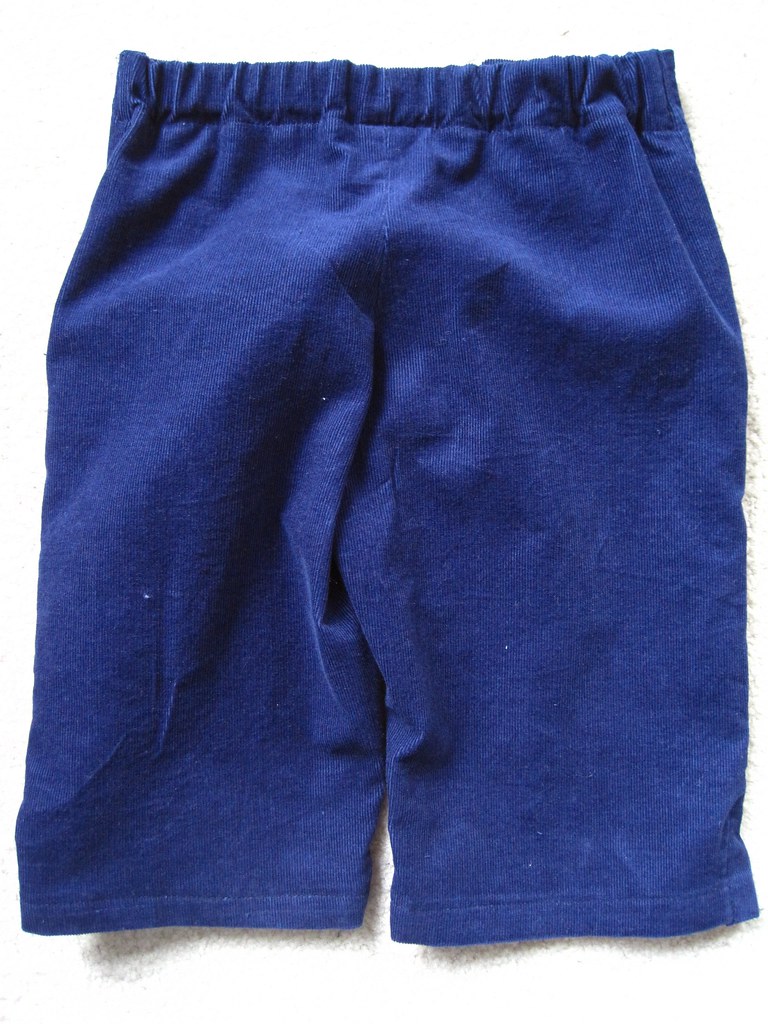
Seat, cute elastic gathering only in the back.
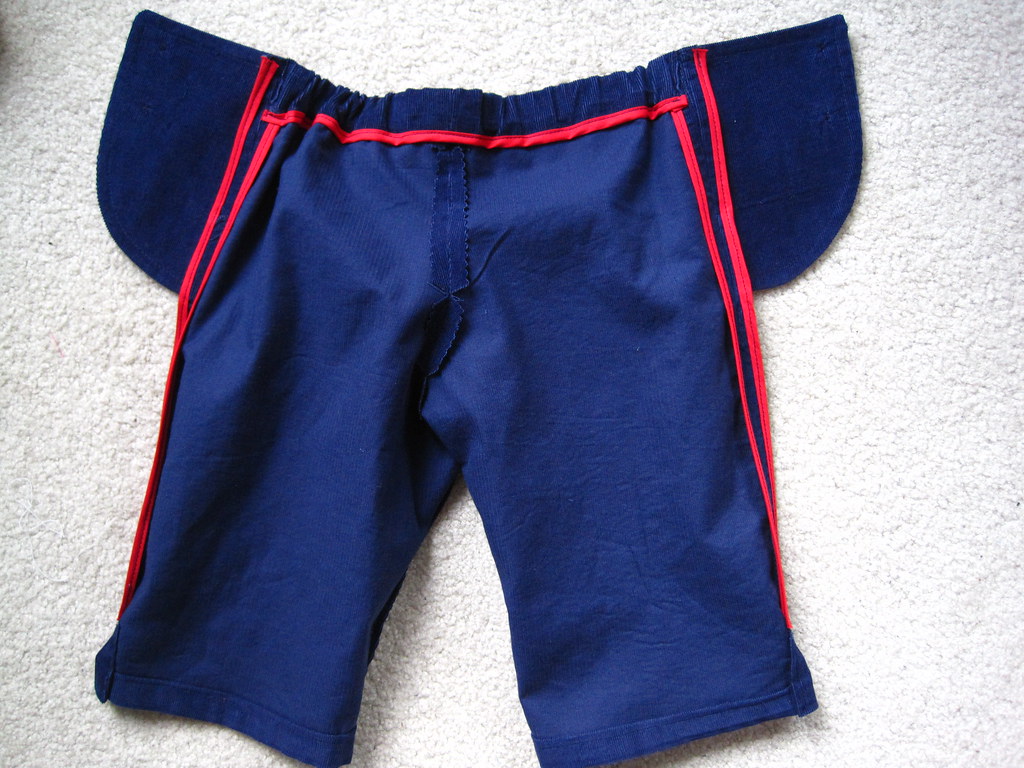
Red Bias tape finish on the facings.
I didn't finish the crotch seam or the interior leg seam, as I wasn't sure about bulk and how to do this while allowing the seam to lay flat. Since these are sailor pants, I didn't want to do a flat felled seam down the center and detract from the button detail. And, these are pants for a 2 year old, so, yeah.

Interior rear.
I did not finish the elastic casing following the directions. What did I do instead? I slapped some bias tape on the raw edge and sewed it down. CASING DONE. Less pressing, less bulk this way. I love the way it turned out.

Interior front.
Unbuttoned, interior front. You can see i pinked some of the crotch seam, but mostly turned under and stitched, which doesn't give a very good clean finish. I will be making these pants again for my nephew and I will instead finish the raw edge with a zig zag PRIOR to stitching together. Easy peasy.

Why red bias finish, you ask?

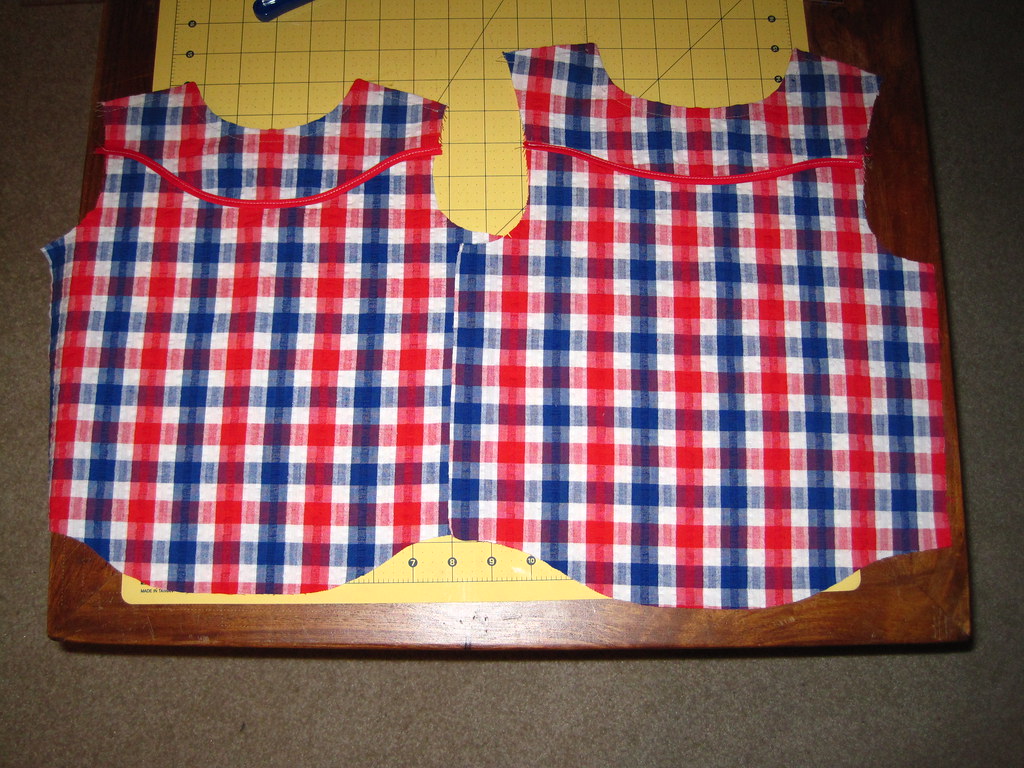
Because I'm also making the sailor top to match in a really great red, white, and blue plaid.

Interior Sailor Shirt front on the left, Interior Sailor Shirt back on the right.

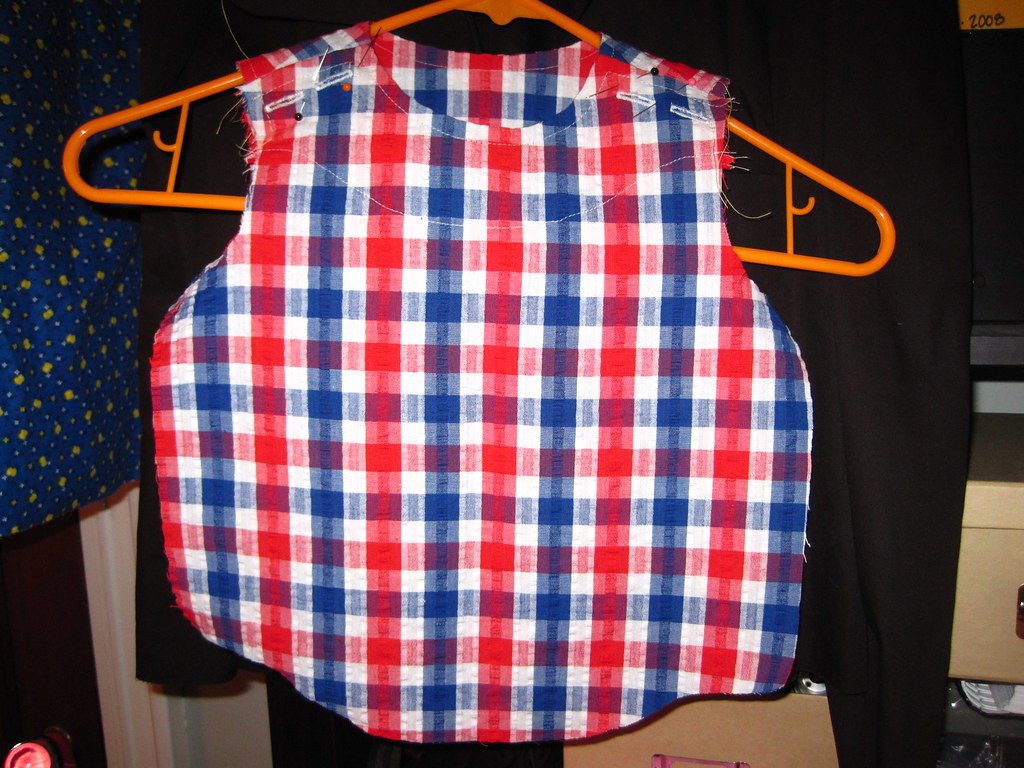
Basted together at the top, see the cute buttonholes!
I've also managed to attach the sleeves last night, but they're not sewn up yet. Coincidentally, the installation instructions were the exact same set that Sunni detailed in a post today. The shirt went together really quickly. The pattern also comes with a version for a skirt. My plan is to create the pants and shirt for my adorable nephew, and create the skirt and shirt version for my adorable niece. Those will be surprise spring gifts. I'm so lucky to have one of each!

In the interest of brevity, I'll end the post now. I will be updating again (hopefully sooner than later!) about the Mad Men Dress Challenge, and some of the other items I put on my list above!!

Friday, February 3, 2012

Featured!

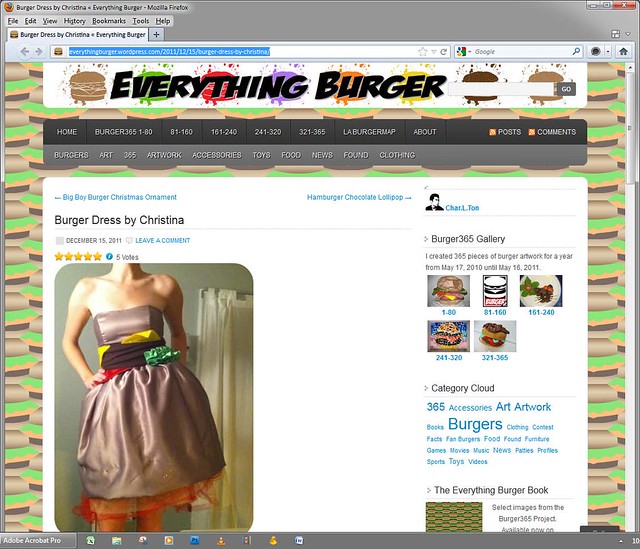
I'm long overdue in posting about this, but the burger dress was featured on everythingburger.wordpress.com!


Click here for the full post!


In the meantime, I've joined Sewaholic's Minoru Sewalong! I'm a little behind, but so far, so good.

I ended up hand basting the main jacket pieces together, to ensure fit, and I'm so glad I did - it made piece of mind attainable, and kept my pieces from shifting when I finally sewed them together.

Hand basting!
I've made it to roughly the third post. I've sewed the raglan sleeves to the front and back pieces, pressed and done my topstitching. I used a triple stitch and preferred to do the topstitching before trimming the remaining allowance.


Last night I put the hood together, and set in a lining.
Hoods are funny!

I'm really excited to see this jacket come together. This is the first sewalong I've participated in, and I am enjoying it quite a bit. There have been many questions that have been easily answered - and even though I'm behind the posts are still there. If you're considering joining, do it!

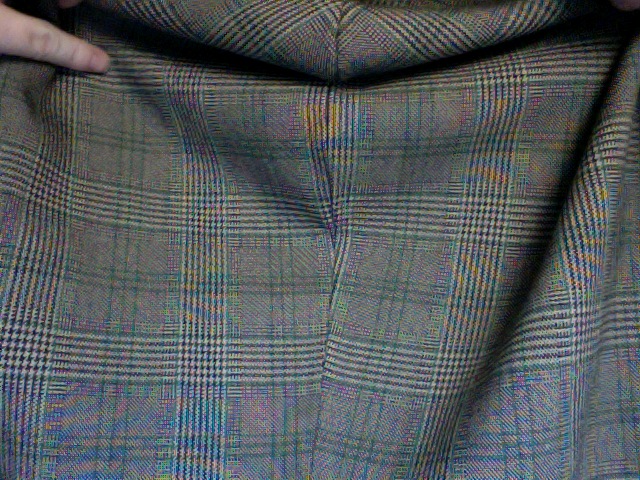
I'll leave you with a parting shot: my hood plaid pieces match, but it was not through action I took. I need to figure out *how* to match plaids, if anybody has a tutorial, send it my way!

*edited*
To add: I found a tutorial by the Selfish Seamstress here, but I'm still not clear on matching pieces, for example, on the Peony dress. The bodice, waist, skirt and optional sleeves would all need to be matched. How can I ensure the plaid matches at those intersections as well?


Friday, December 9, 2011

Yarn & Knitting

YARNS!
I love ordering wares from the internet. I'm probably most excited about the green holiday yarn. I see a lot of knitting in my future for the weekend, as most of these yarns will be turned into handmade christmas presents.


I really enjoy knitting with the Lion Homespun, it's got enough body to provide added texture to a basic piece, but it's still soft, unlike the popular Red Heart product, also by Lion.

I recently made a cowl with "Praire" colorway, which is a mix of dark greens/neutrals sprinkled with unexpected jewel tones. It was super fast to knit up in the round and I wear it quite a bit.

An added update on the Bloomers: I was able to get the casings sewn and thread the elastic through. Failure and/or lack of foresight: didn't exactly *measure* the elastic, and it's turned out a bit snug. As the other reviews on this pattern have mentioned, these are VERY low.  I sense some quality time with my seam ripper is coming up.


Next Post Previous Post Home