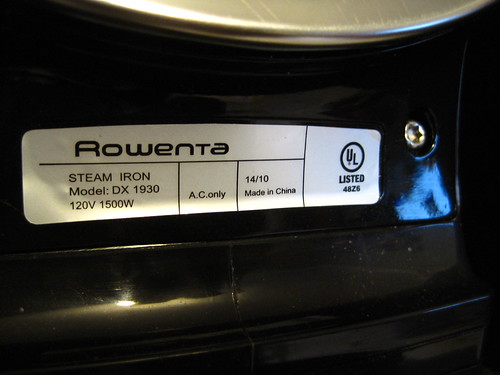
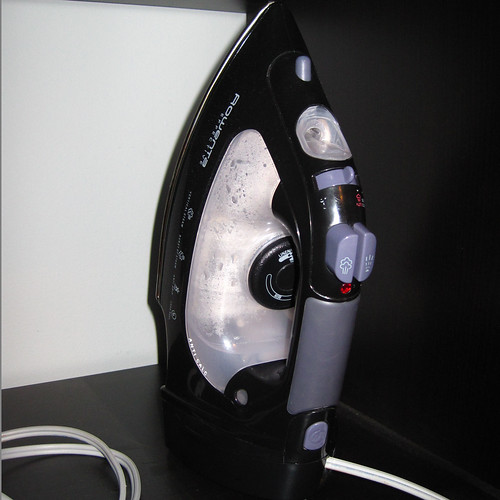
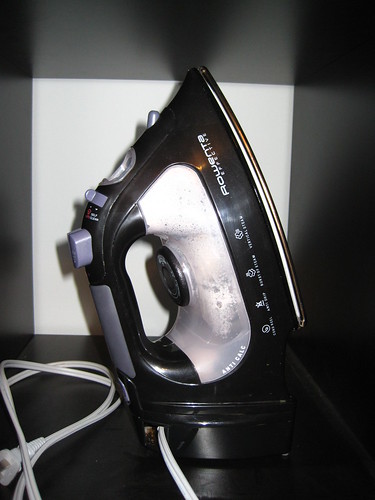
In December, I splurged and replaced my iron. I had a coupon for a good deal at Joanns, so I picked up the Rowenta DX 1930. (Essentially this iron.) It was love at first steam. I was replacing a $20 black and decker job I received for Christmas when I was 18 and first living on my own. How I made do with that iron for as long as I did is a true testament to the concept that you don't know what you're missing out on until you've tried it.
The Rowenta had So. Much. Steam.
Made in China!
It wasn't meant to be.
I loved the cord reel function. I loved the heft, the steam, the 90 seconds to heat and the smooth sole plate. When my lovely Rowenta started leaking into the cord reel base, I learned that I do not love Rowenta's website. Their website is absolutely awful and it was nearly impossible to locate any information about their warranty and service centers.
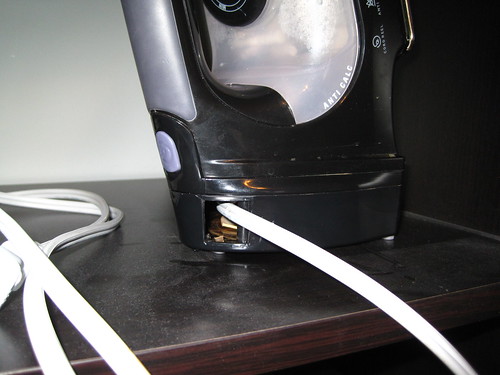
Obviously I need to dust. Pay attention to the cord reel base and it's LEAK OF DOOM.
It's a slow leak, but a leak none the less. I started to research new irons and have found positive feedback on this model. I was able to find another good deal, so my new iron should arrive on Thursday. I'm going to try to get this model set up for some warranty service, but we'll see what happens.
When this all happened, I went downstairs to ask my 84 year old landlord what he thought about plugging it in and giving it a go. I didn't want to set the house on fire. I lament that I'm in the middle of a project (the Wiksten tank, which I love, love, love! I will be posting my progress tomorrow.) and assure him I won't plug in the water filled iron and set the house on fire. He offers me a replacement iron which I accept.
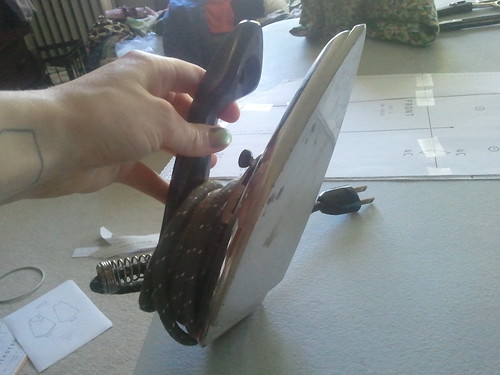
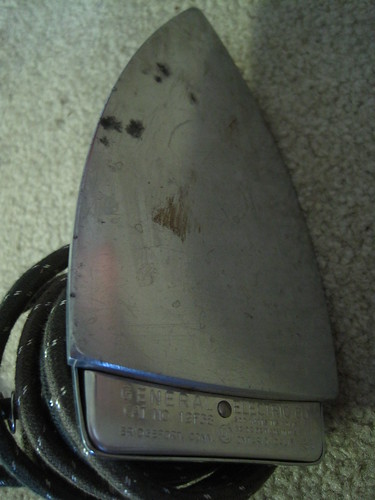
I get upstairs and upon closer inspection realize it is a cloth cord non-steam iron. It looks to be circa 1910's, perhaps worthy of being heated not by the electrical cord jutting out of it but the coals of a hot fire. Observe:
Flat Iron!
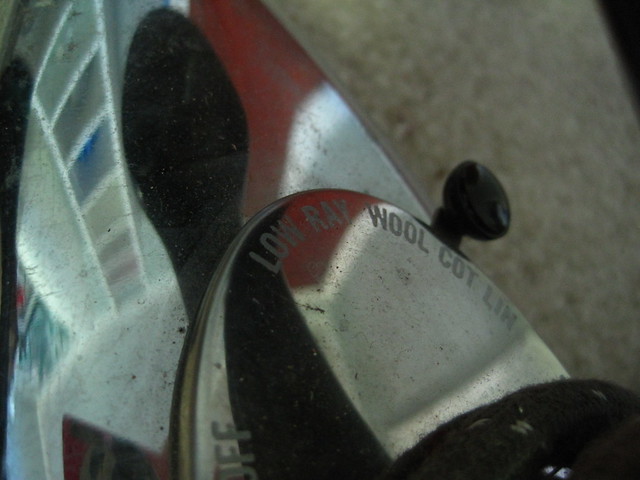
Off, Low, Ray, Wool, Cot, Lin. An array of heat options!
A few minutes later there is a knock on my door. He is offering me not one, but two more irons, for a total of THREE replacement irons to use. He insists I take them. The other two are cheap steam irons probably from the 80's or early 90's.
My mom made the joke that I would need to rent a storage unit for all the irons.
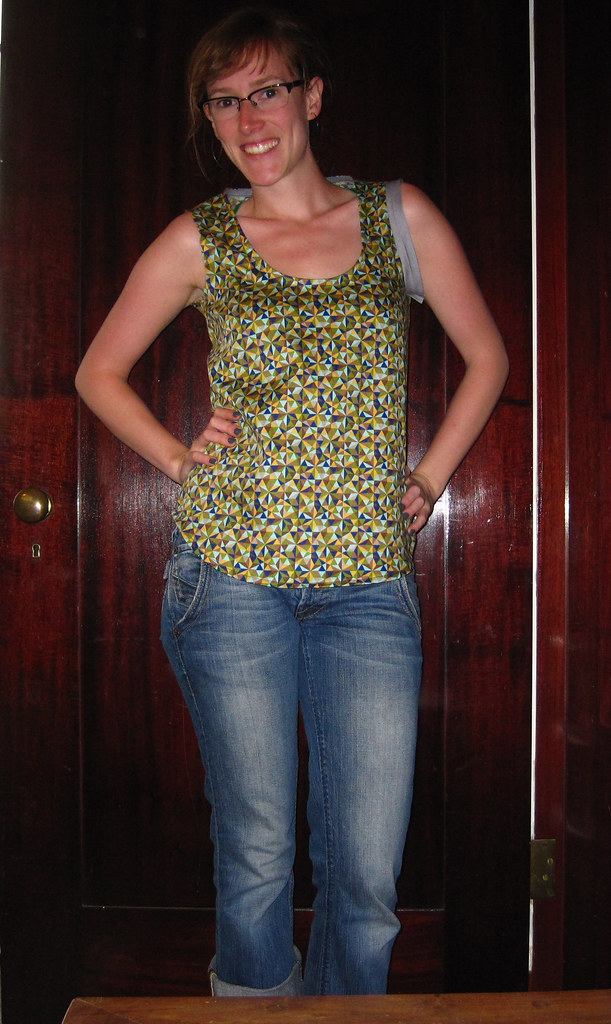
Sneak peak of the Wiksten Tank:
The iron crapped out just before finishing the bias tape on the armscyes.
EDIT! (8/9/2012)
My new iron has arrived, and it has about a billion steam holes. I can't wait to use it!
You guys. I've been totally MIA. I flat out MISSED the deadline for the Made Men Challenge. (Still working on the dress, though!)
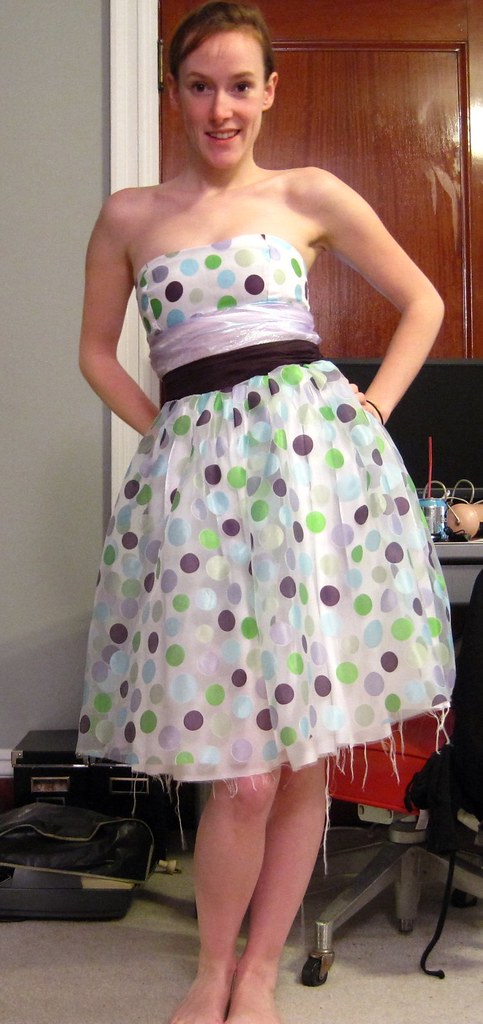
Fine, let's talk about the dress. These pictures are horrible, they really are. I'm SO CLOSE to being done. So Close. I can literally taste it. (No, I cannot.)
The inspiration dress is, of course, Betty's fabulous party dress in Season 2.
We can discuss the fact that I failed to read the directions, so the straps are being added as an "after thought" which involves a lot of hand sewing, which I do not find relaxing at all.
We can discuss the fact that I'm worried I bit a look easter-egg ish?
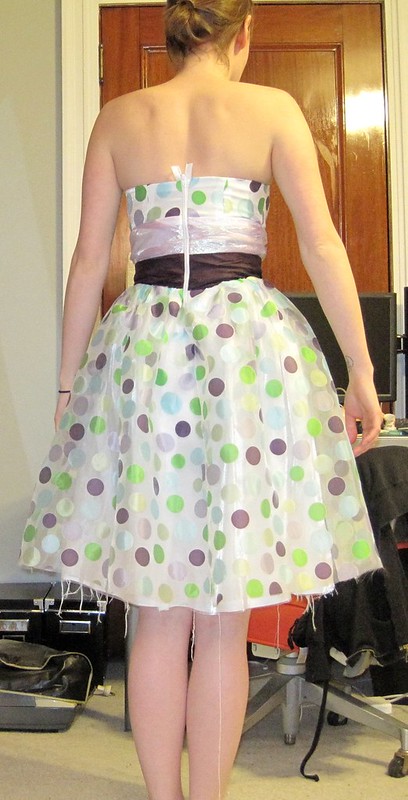
And can we talk about the back? Something went wrong. I know that it doesn't look like it, but trust me. The color blocks match up, which is great! But, the top doesn't. which is bad. This isn't an everyday garment and therefore should probably have had a little more attention paid it. the problem for me, is that I honestly don't know how to fix it without tearing the entire thing apart.
Frustrated!!!
Just now I tried the dress on to sew on the last strap, and I can't seem to get the zipper up. I'm setting this aside before I break the zipper and have to start all over again.
I'm very excited to have my very first guest-poster!
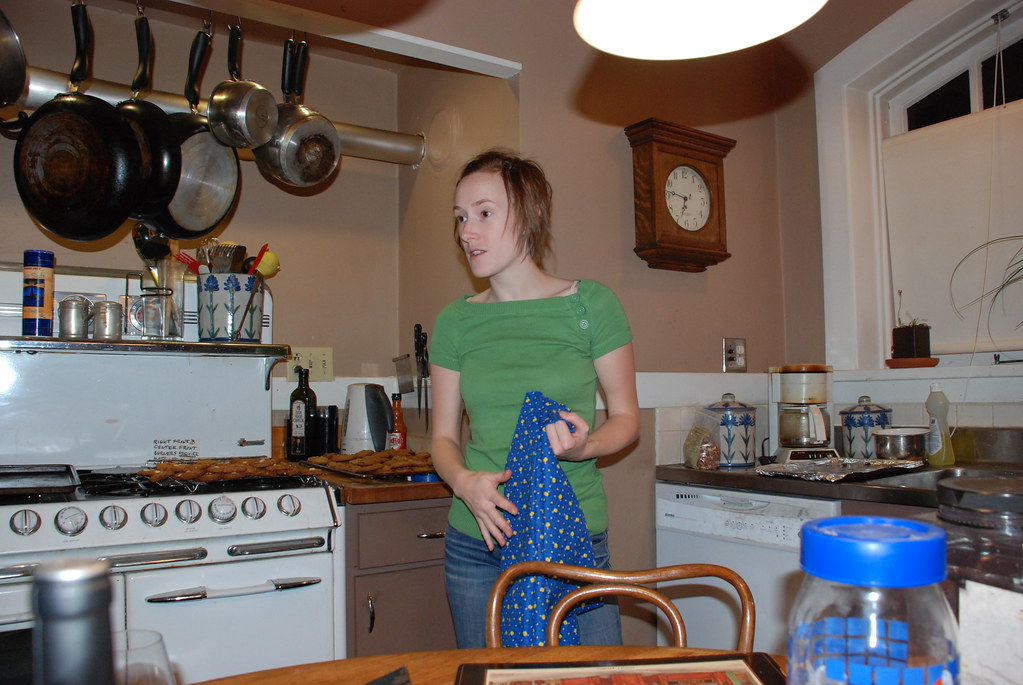
Let me introduce Devon:
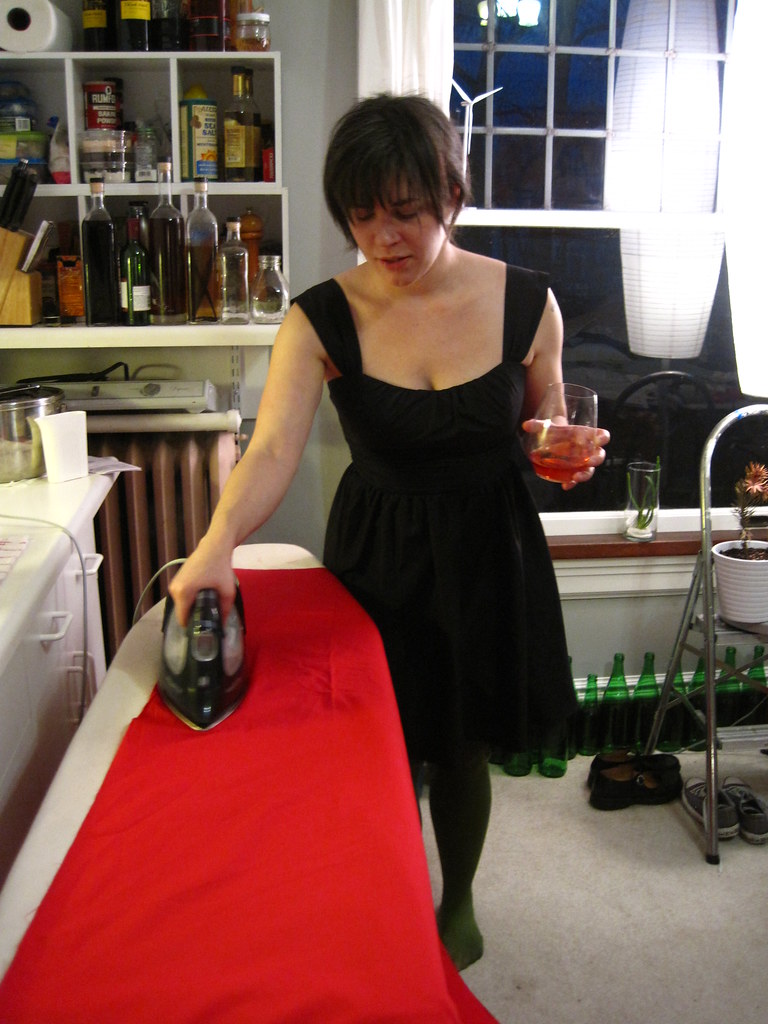
Isn't she awesome?? Here she is on Christmas Eve, ironing and bourbon'ing. In a cocktail dress.
That's just how she rolls. We solidified our friendship over sewing our Halloweencostumes and accessories.
She put together some cushions recently and I asked her if she'd be willing to guest post while I frantically get the zipper installed for the Mad Men Dress. Home stretch! I'll let Devon captain the ship from here!
Hello, campers! Christina asked me to share a recent adventure in slipcovers with you.
I
don't have a couch, and I was expecting a pile of people over for a
party. To mix up seating, I thought I'd make some floor cushions. I got
three pieces of pre-cut 2" foam, and a yard of 3" by-the-yard foam at
JoAnn's (on sale- which they cut with an electric bread knife!), and I got the fabric at Ikea. It's a fully-printed
cotton blend, so it ended up being quite heavy, and I sewed with basic
black polyester thread.
I measured my foam and
added a 1/2" seam allowance. I decided to just do a flap closure,
instead of messing around with zippers, so I added a few inches to one
of the large sides of the cushion and separated it into two pieces. To
keep track of things, I took notes for dimensions on an index card.
Cutting
those big pieces was a bit of a challenge! I had more than enough
fabric, so I generally cut with some room for trimming. Once I had all
my pieces done, I drew seam allowances on the wrong sides with a chalk
pencil.
I also marked lengths of the side pieces for the smaller
cushions, so I wouldn't accidentally mix up the 16" and 18" long strips.
Then
I started sewing! I had to do a fair amount of tension adjusting on my
machine from my previous project, since the thread was fine and the
fabric quite thick, which I tested on a scrap piece of fabric.
I did the big cushion first since I figured it would take the most time. The three little ones were a breeze after that.
One
thing I modified as I went was cutting out the corners. Since I squared
off all my corners instead of using a long strip around all the skinny
sides, I ended up with a lot of bulk. Trimming them made sewing easier,
and made smoother boxy edges. A little tedious, but they came out well. I
also didn't worry about matching all the corners perfectly; there was
enough bulk remaining that I didn't have problems with holes.
All in all, I was quite pleased, and guests found them cozy!
Thanks, Devon! I hope to be back later this week with my finished Mad Men Dress and a post about some supplies I have received. Oh okay, I will give you a preview:
When I was between the ages of 9-12, my mom let me pick out a pattern and some fabric. She cut the pieces, lost one of the pieces, the directions and the envelope. I picked the above pattern, OOP Butterick 5454. Described as: "Two flippy pantskirts. Front wrapped or with a button-on panel."
For some reason, she kept the remnants, and the pieces she had already cut out. They were lost in a drawer.
Fast forward about 15-17 years. I am finishing a quilt for my niece. I'm rummaging about in mom's sewing cabinet for the tomato pin cushion and I come across the pieces. I stash them in my sewing machine bag and take them home with me.
I look up the pattern on e-bay and for less than $8.00 it is in my hands in a few days.
This is a child's size 10, so this won't fit me. But that isn't going to stop me from making it for my niece. She's about 18 months old, so it'll be a while before she can wear it.
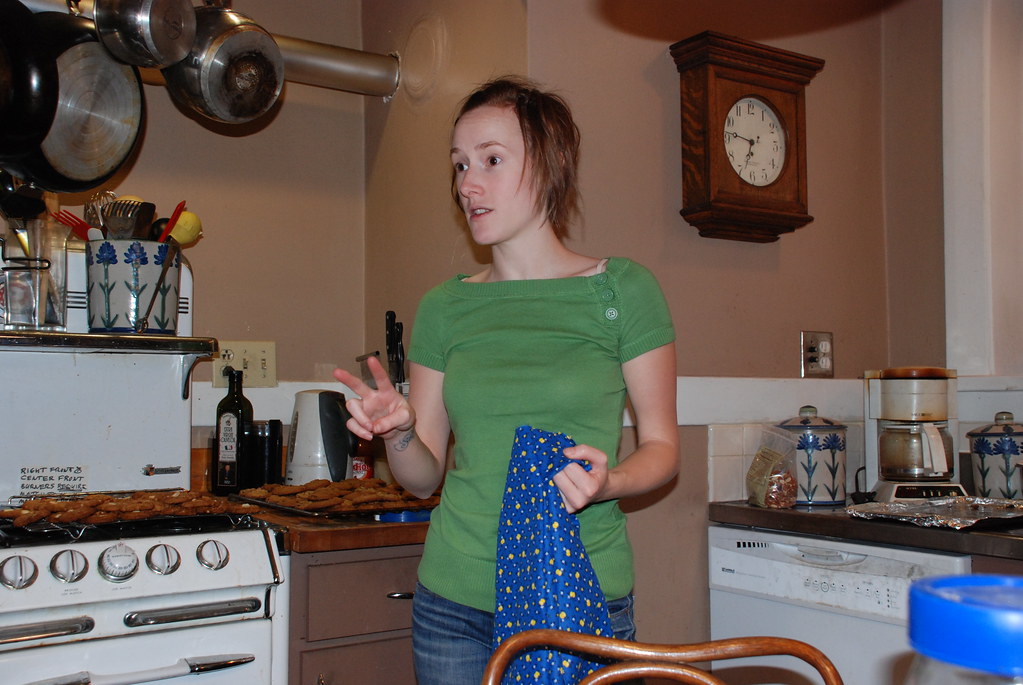
Here I am, telling this story while holding the very preliminary stitched together piece:
I'm explaining that this is the original fabric.
Two pieces were missing!
Clearly I'm disgusted about something.
Realize I've been documented!
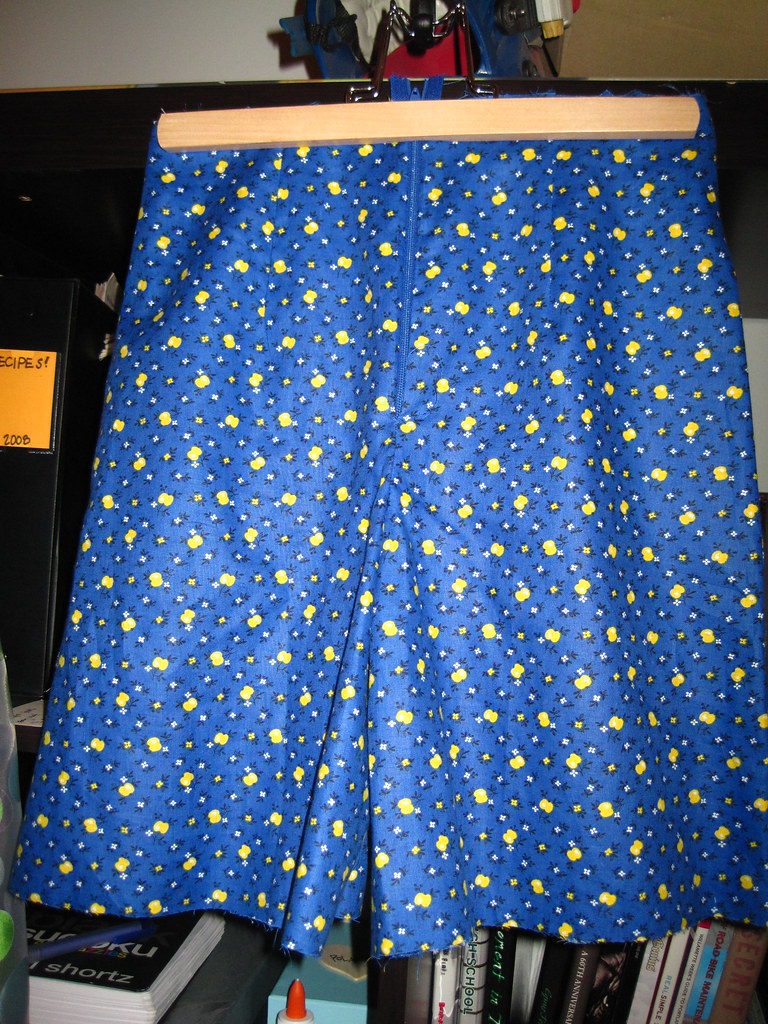
Let's take a look at where I'm at with the project now!
Skirt Front
Skirt Rear
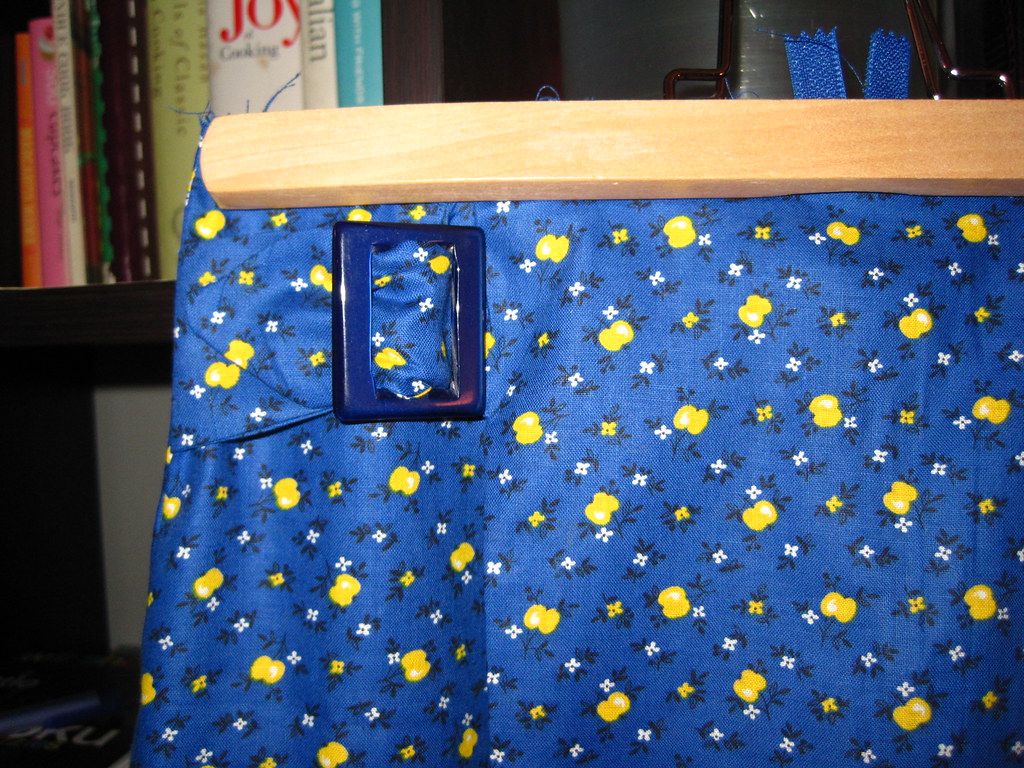
Skirt Buckle (my favorite part!)
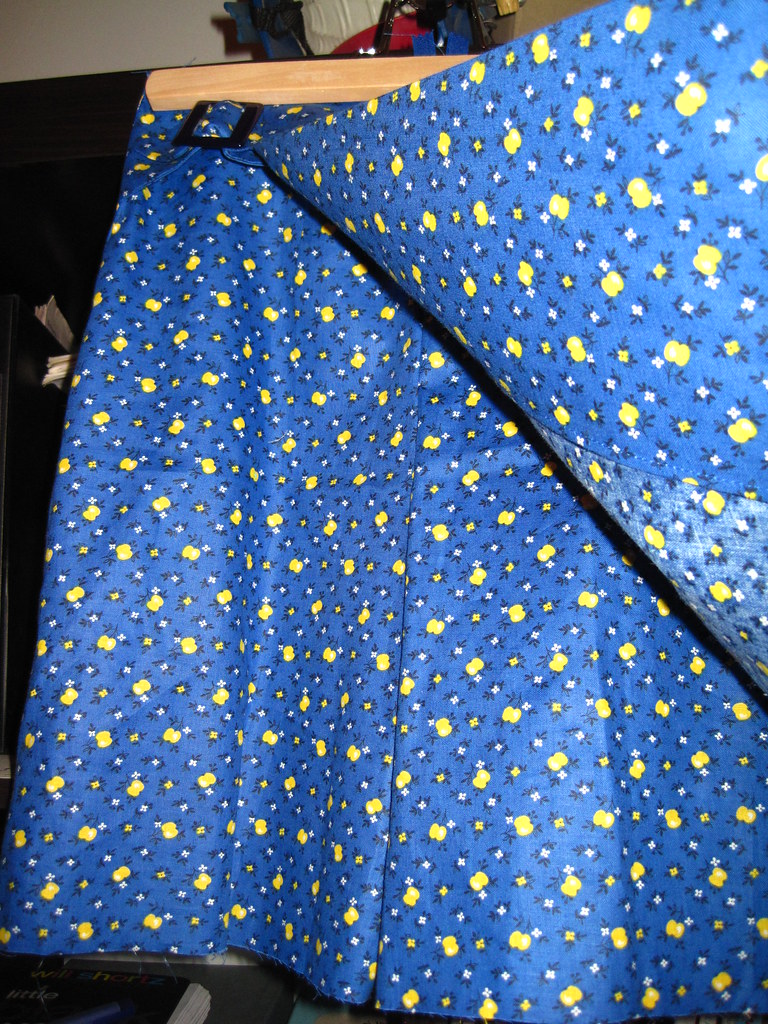
Secret Panel
I just need to install the waist-facing and hem. We all know how I feel about hemming, this will probably sit for a month or two before it gets done...
They announced there would be a discount for patterns purchased at the event, as well as an extra special 10% for those who showed up in a garment made from her line.
I originally bought the Violet because I saw Lauren's version and fell in love. Seriously, how adorable is that??
I took this opportunity as a challenge to put together the violet in a week. Put it together I did, however, I had one small (haha, see what I did there?) issue. The smallest size was measured at a bust 33", which is a full 3 inches larger than my bust measurement. Whatever is a girl to do?!
I traced off the pattern and using the "slash and spread"(overlap) technique, I made this sucker fit me.
I relied heavily on this article in threads magazine. Seriously. If you ever need to grade patterns, print that out. I did, and laminated it. That's how serious I am, it was a real help. I don't have any books on fit and grading, but I'm starting to think it might be a good idea to keep my eyes peeled for such things, especially given the sizing for the big 4 patterns.
So here's the top:
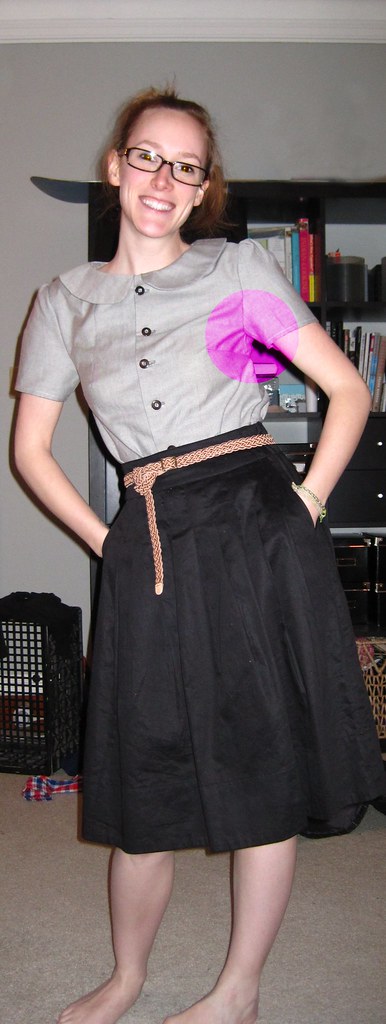
Let's talk about armscyes for a minute. I think mine are too low. The reason for that is when I lift my arm, SERIOUSLY limited range of motion, and it picks the blouse up which is really annoying.
On the photo on the left, you can see where the garment sits. On the photo on the right, I've drawn in the approximate line of my arm and arm pit. The red indicates the gap between the two. Other than that issue, I really love this pattern. If anybody has any ideas or tips, please comment. I can use the direction!
Oh, I also wondered how other people finish their arm-seams. I finished the sides with french seams and zig-zagged everything else, but I'm really clueless about arm finishes. This really is the first garment I've put together that has traditional sleeves. After the minoru I'm tempted to put raglan sleeves on everything!!
I used these wonderful tortoiseshell with metal accent buttons. The fabric of the shirt is a bit of an industrial blue/grey and I was worried that it would start to look like a uniform.
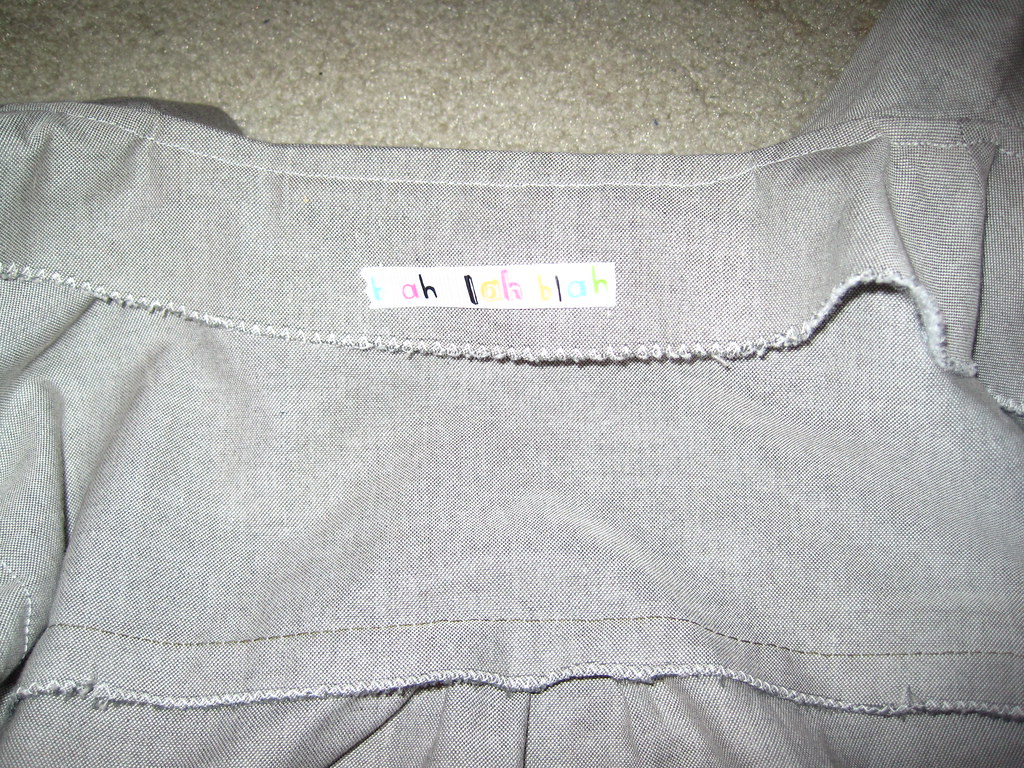
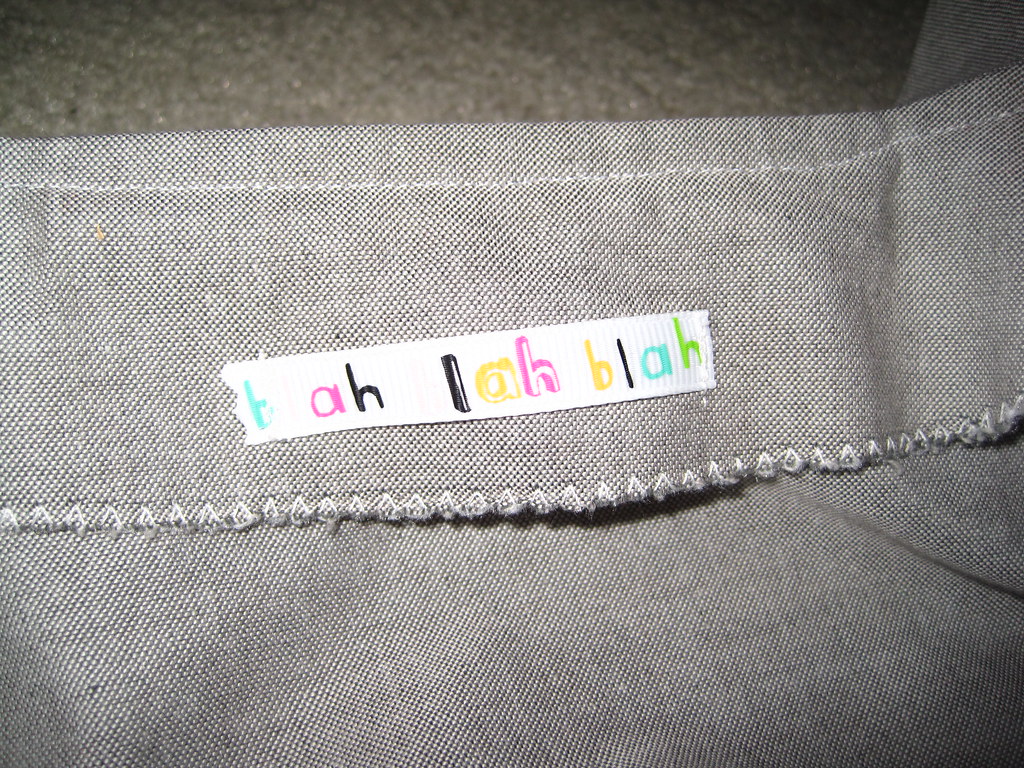
And a close up of my "blah blah blah" tag. It's just printed ribbon.
Once I've ironed out the sleeve fitting, I plan on making another one as part of my spring/summer wardrobe.
On another note, I took all of the plastic casing off of my machine this evening and checked everything out. I think it's really important to see how things work so you are a bit more educated on how they can be fixed. While I had it all taken apart I also oiled my machine. Oddly enough, my user manual recommends at least once a year, while some various sources on the internet recommend an oiling after every 8 hours of sewing. How often do you oil?
This jacket was so much fun to put together. I participated in Tasia'ssewalong over at sewaholic and that made each step super easy, and encouraged me to take my time, which was great as taking my time has been a huge challenge for me with sewing.
I started this jacket January 30th, a bit behind the sewalong schedule. I fell a bit behind again when I tried to install in-seam pockets WITH zippers. I did do it, but I am not sure if I like how they turned out. More on that in moment. This is a google search I lead over and over again with no results. If I ever get a handle on that, I will be attempting to make a tutorial.
Things I like about this jacket: the raglan sleeves. The feminine gathering. The gigantic collar. The nipped waist.
Things I don't like about this jacket: topstitching for days and days. Okay, so it's not that I don't like the topstitching, just that I am lazy! Be warned, this takes up more than 2 spools of thread, if you are topstitching and assembling in the same color. Tasia even ran out of thread partway through the sewalong!
So, as I was saying. I fell a bit behind during the sewalong. Then something happened and all the sudden I was nearly finished, except for the hem.
That sound - that sound is what I hear in my head every time I think about hemming something. You guys, I made this Vogue #9771 THREE YEARS AGO and it it still remains hemless. Now, granted, it is a bias cut top so it's not unraveling, and I have washed it a bunch with no problems but that isn't the point.
The point is that I hate hemming and it is the bane of my existence. So this jacket sat. For maybe 3 weeks? It just sat there. I made the sailor outfit, traced off numerous patterns, made a colette violet. Picked my nose, I don't know what else. And my friends kept asking me, "Soooo are you done with that jacket yet?"
"Oh, no, I think I'm going to make some more modifications to it."
"Oh, no, I'm super busy right now (*ahem DOWNTON ABBEY ahem*) but I'll get to it."
"Oh, no, I'm just preparing for a trip to outer-space, don't think I"ll be needing a jacket there." (You will, it is cold.)
Last night, I broke two needles. I also didn't figure out why my stitching was all wonky, which eventually was due to the machine being threaded incorrectly unbeknownst to me. Apparently if you break a needle, you should double check the threading again. I'll be honest, the hem on this isn't perfect, but like a true renegade, i don't care.
Let's talk about that pocket business.
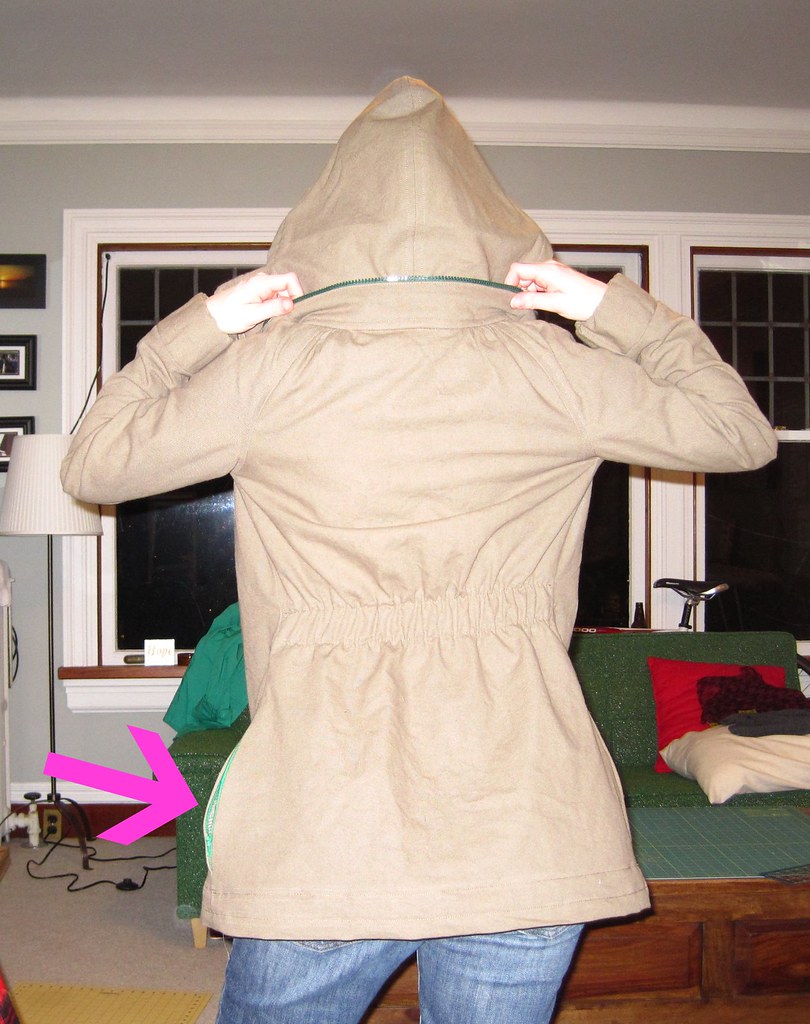
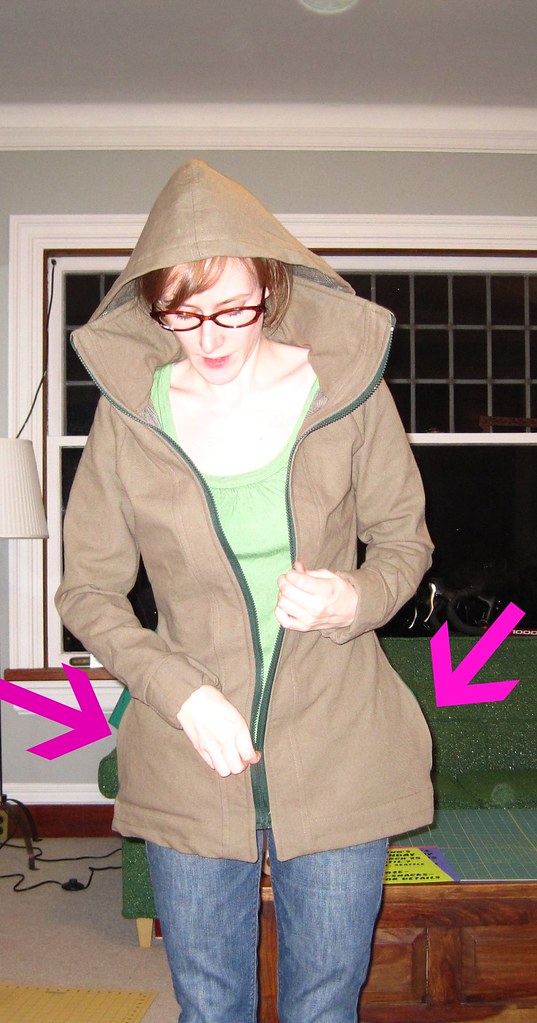
The pockets I installed feature fun kelly-green zippers. They bow out at the hips, making me look "hippier" than I am. Bad notion? Bad placement, possibly. I think the pockets are too low, which I'll take into consideration on my next version.
Hello bell shape!
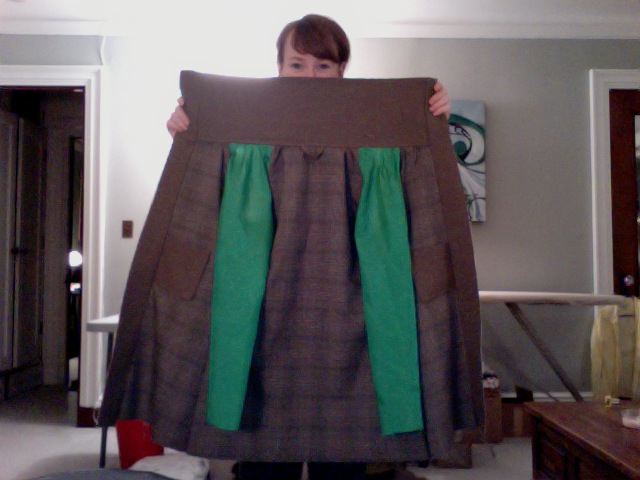
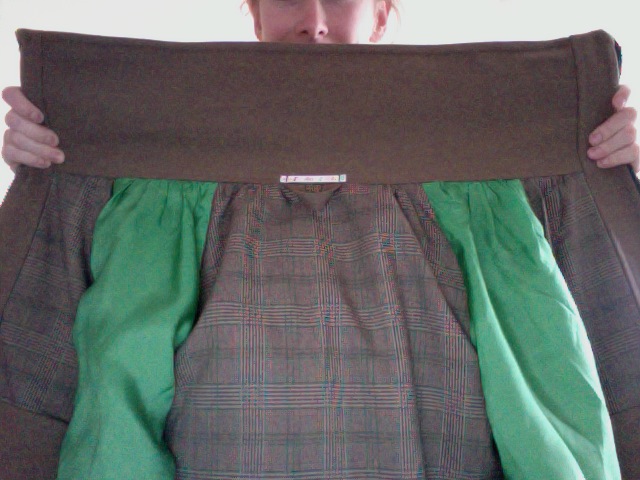
Interior? I only have bad photobooth shots. But here they are.
Bright Green bemberg rayon for the sleeves!
Piece of gross-grain ribbon that says "blah blah blah", now standard on all my garments!
Next minoru? Yes. Another. It will feature no hood, better in-seam pockets (although I don't know what that means at this particular point, because I really love having zippers in those pockets) and a different set of interior pockets.
I already have the fabric for it, darlings!
I don't know what kind of fabric this is. It's woven, obviously. It's not scratchy and doesn't smell weird.
Did you make a minoru? If you are unsure, GET ON THE BANDWAGON. You seriously will not regret it, this is a great pattern.
*Edit*
It seems I made a mistake in cutting my pattern. After a few wears, I really wish I would make a larger size. Any ideas aside from buying the pattern again?
Inspired by A Good Wardrobe, I've decided to make a list of the items I'd like to sew.
In preparation, I created a pinterest board, and have thought about areas my wardrobe lacks.
It's a bit ambitious, but I'm ready to tackle this sewing! I often find myself sort of wheeling at the end of a project, wondering where to go next. I don't think I'll actually get all of these items sewn, but they're good projects to have on the list.
I still need to go through my stash to figure out fabric options, but I think I'm going to try and sew mostly out of stash. That's the point, right?
I've got the fabric already for the madmen challenge dress, and that's going to be the next project I tackle.
For the tops and blouses, I've already completed one violet, which I need to post about.
The vintage jacket has been a work in progress for a very long time. I would like to put a lining in it. I just need to cut said lining, install and hem. Then the jacket is finished!
Lastly, I want to make two crinolines, each a different length. I've got several fancy dresses in my closet already that could really use a little bit of oomph underneath. I'll also need a crinoline for the madmen dress.
I had a lot of fun creating vector imagines of the line drawings I found on the internet and putting these boards together. They look a lot more attractive than the rudimentary mock-ups I sketched. I can sew, but I'm not an illustrator!