






header

Monday, March 16, 2015

Completed: Pneuma Sports Bras & Tank Tops

Next up: Papercut Pattern's Pneuma Tank & Sports Bra.  

This pattern is ACES.

I try to get to the gym about 4-5 times a week, so that means I'm burning through a lot of work out gear in a single week. When I first started going, I was content to use those ratty old dance pants and a t-shirt. As I've actually stayed committed to showing up, though, I want some cute stuff to sweat in.
Papercut's Tri collection is nothing short of absolutely amazing. I've made up the Pneuma as a stand-alone sports bra twice, and made the integrated tank top/bra combo three times, and had fun playing around with a stand alone tank.

Here's my first go-round with the bra:


I didn't want to spend time tracking down bra-strapping, so I ended up using 1/4" elastic encased in the same fabric I was using, with a nice zig zag down the center to secure. This method worked, and I used it for my second version as well.
First version: Fabric from Fashion Fabrics Club. I searched high and low for an 85/15 poly-spandex blend, which is the same fabric used for a pair of leggings I really liked from Old Navy. This is the Aqua Blue. For this version I started with the XXS. The fit is pretty good, but I found it was a little tight, which made it hard to get on and off, but great while wearing it.

Second version was made with the Vibrant Purple and the straps were made with this amazing Girl Charlee Ponte de Roma. Those were scraps leftover from some leggings I've yet to blog about!


For version number two, I added 1/4" to each pattern center (center back and center front) matching the length for the XS pattern piece, without raising the arm or neckline. This was a great alteration! I didn't pay attention to the fact that I should have then moved the strap locations, so you can see in the photo above that the outer straps are preeeeetty close to the side seams. Derp!

Version one with the tank was made with the same Vibrant Purple Milliken, but this time I used FOE kept flat for the straps and the shirt was made with a half-yard cut of this Girl Charlee Print.


I had been hoping for more of a peek-a-boo effect with the side and back cutouts, so I lowered those each by 1/4" on the following versions. I finished the edges of the tank with a narrow hem on my serger. In fact, the entire project was put together with my serger, save for topstitching the elastic in the bra and attaching the straps.

Version 2 was made with this Yellow Gold Milliken, and this "Neon Aztec" print, also a half yard cut from Girl Charlee.


And here are my mirror selfies actually wearing version 2:


Version 3 was made with the Aqua blue again, and this Girl Charlee floral print, half yard cut again! Since it was a half yard cut, I ended up changing the pattern direction on the front, but it's a knit, and following the grain isn't as important.


It seems I forgot to snap photos of the standalone tank, but, it's fun to wear to the gym. Buy this pattern, you won't be disappointed!

Friday, March 13, 2015

Completed: Modern Cross-Back Tank


We've been experiencing a wonderful deluge of sunny weather here in Seattle lately, and it means that summer really *is* on the way!

In honor of the weather, I completed a fun, basic tank top for the summer. I used this great cotton knit from GirlCharlee. It's described as a "mustard" triangle on mint, but in person it's really more of a gold. It's a wonderful color combination that I personally wouldn't have thought to put together!


I used McCall’s 6751. This is meant to be a wearable muslin, and I did end up having to make some changes to get this to fit correctly. I ended up scooping out the neckline by about 1", including rounding it a bit more. It's a pretty boxy fit out of the package. I also reduced the front piece width by about 1.5". I did this by redrawing the CF line, and I angled it in near the neck to reduce gaping, probably by about 1/4". I reduced the back pieces by 2" each, just slashing partway from the edge and overlapping. That change isn't shown on this version, so I hope to sew up another and that the fit will be a little closer.


Overall, this is a super quick make with some other really cute views. Definitely going to make this again!

Wednesday, February 25, 2015

Completed: Southwestern Hoodie

I've been wanting to make a hoodie for some time. This summer, I found this fabric at my local store (Stitches!) for something silly like $3.00 a yard. I think at that point I had never sewn with non-wovens of any kind, but I bought three yards anyway. It's a great sweatshirt knit, with a soft fleece-y inside and a great screen printed pattern on the right side.


I made this hoodie with McCall's 4261 view A, heavily modified.
The pattern originally calls for a shoulder yoke and the self facing to be turned to the wrong side. Nope nope nope.
I cut the XS and made the following changes:
-Added topstitching throughout. (cuffs, hem band, shoulders, sleeves, hood/neck, extra row on the pockets.) I essentially made a mock flat felled seam with the seam allowance and then trimmed it down after.
-Set the sleeves in flat, and pinched out the excess at the sleeve head with an inverted box pleat. A fun feminine touch!
-Sewed the side and sleeve seams at 1/4"
-No shoulder yoke!
-Added a button hole opening on either side of the hood for an added drawstring
-Folded those self facings to the interior
-Cut the hem band on the fold. (The pattern calls for cutting two. It's just a rectangle and this fabric was thick, so cutting down on uneccessary seams was a plus)

And a little "this might be a hoodie?" selfie!


You can really see the colors on this WIP shot:


I'd like to make at least one more in black. I had a black hoodie that I loved which has disappeared. For the next go-round I'll turn the edges of the pockets before topstitching. Right now they're just sewn right on with rough edges, and I think it looks a little becky-home-ecky.

Here are some detail shots!

Zipper topstitching, hem band. This is the best topstitching I've ever produced!

Dem buttonholes tho
 

Loads of topstitching, adorable tiny inverted box pleat the sleeve head

Cuff topstitching
 

And that's pretty much it! Look for more soon!

Friday, January 9, 2015

Completed: Renfrew the Stripey (PART DEUX)

After my first run-in with stripes, and my traditional off-by-one error, I knew I wanted to revisit the issue.  You know what they say, practice makes better!

I've been sewing a lot of basics, and I really like view C of the Renfrew because it feels a bit dressier than a plain t-shirt but it wears like a plain t-shirt, win!

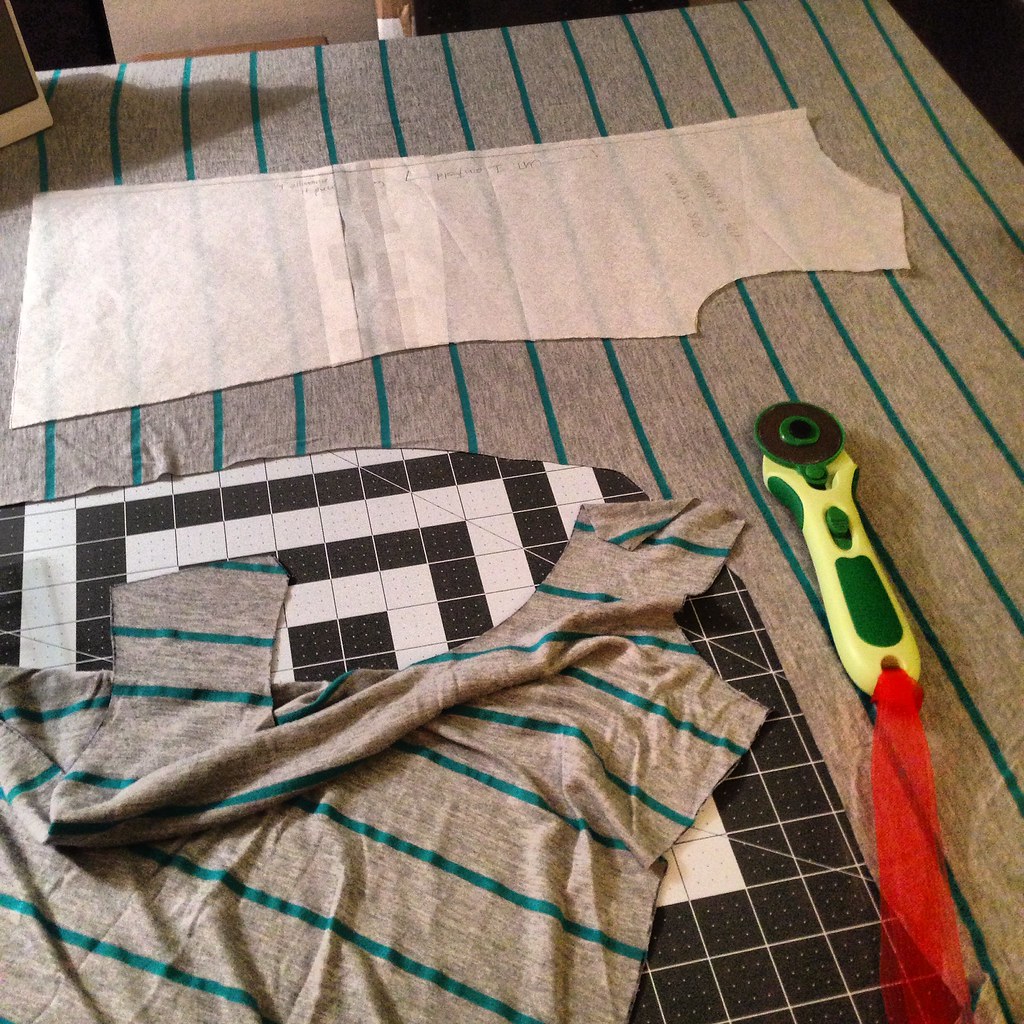
I was super careful on cutting this fabric. It's a nice drapey rayon-cotton knit that I grabbed out of a remnant bin at Hancock fabrics for $6. It's about 1.5 yards? This time, I used a sharpie to trace outside the pattern and cut then, instead of trying to keep everything from shifting around with pattern weights.


The same changes were made this time that I also made to my cozy renfrew - extended bands. I'm starting to think I need to double check the sleeve height, as every single time I have made this pattern the sleeve has not fit correctly into the armsyce.


Here it is on the dressform! I'm incredibly pleased with my stripe matching this time!


Wednesday, January 7, 2015

Completed: Totally Tubular 80's-tastic Rad Rigel Bomber

AHHH! I am totally on a Papercut Patterns kick! I am really loving these designs, so I can't wait to see what else I'll be churning out soon! (Spoiler: I made the Pneuma Bra during my office's "winter break" and it's *AMAZING*)

A note: I've often held off posting because I haven't taken "good" photos of myself wearing the garment. It's usually an iPhone mirror selfie, and I get all self-conscious about it and don't end up posting. NO MORE! I've got some in progress shots, and dress form shots, and then an iPhone selfie. I don't want to let that stop me from keeping up to date with the things I've made. Deal with it.

May I present to you: the Totally Tubular 80's-tastic Rad Rigel Bomber!!!!


This is a stretch cotton sateen I bought at JoAnn's a billion years ago. I don't know what I was thinking? I am willing to bet it was on sale and I thought I'd make a dress out of it.


Along with everyone else who's made this jacket, I added a lining. I omitted the facings and I followed Lladybird's lead and used most of Jen's bagging tutorial, with a minor modification.

This lining is linen. Since this is meant as a light weight jacket, I don't plan on wearing this with anything long sleeved, and could avoid using a slippery fabric for the arms. My next go round will be of a heavier fabric and will definitely include slippery arms!

To that end, Linen loves to absolutely disintegrate, so I serged every single seam as I was putting it together. This means I had a whole "Jacket" ready to go into my shell, and I didn't want to rip open ANY of those linen seams. Doing that would mean eating into the seam allowance on the lining and cause the lining to become unstable.

What I did instead was to attach the lining as instructed for the facings, sewing together at the neck (after the ribbing was attached) and zipper line (after the zipper was installed). I also sewed together at the arms (again, after the ribbing was attached)which was a little terrifying.


At that point, I had all upper points together, and the hem ribbing had not yet been installed. I then treated the lining and the shell as one and just serged the hem ribbing on.


I had never made a welt pocket before. In fact, I now realize when I made my Minoru, I had wanted to add welt pockets, but failed to find a tutorial for adding them with a zipper.


The instructions included for making the welt pockets are easy to follow! I had tried to do some "research" beforehand by reading tutorials on other blogs, but that was not necessary.


LOOK AT MY WELTS YOU GUYS

And now, here I am wearing it, with matching phone case!


IT'S DONE!

Wednesday, December 10, 2014

Completed: Ikat Papercut Patterns Ooh La Leggings

If the photos aren't coming through, click HERE!


Papercut Leggings on my table.

I've had a long list of legging patterns, draft-it-yourself instructions, and other sewist's legging projects around, but I've been pretty intimidated about leggings. I don't know why. I finally just bit the bullet and bought the PDF copy of the Papercut Patterns Ooh La Leggings.

Totally not disappointed, you guys. This pattern is well drafted, and is only 5 pattern pieces! Just FIVE! These were so fast to make up - I did nearly everything on my serger. The fabric used feels like a swimsuit lycra (content was unknown) that I picked up off a remnant table. I think the piece was only 5/8's of a yard, and since this fabric has 4 way stretch, I just folded the other direction and was able to make the below knee length version!


Since the print is pretty busy, the lines are lost. I've got another pair almost finished, and I can assure you that the lines are *very* visible on there! The rise is really high, which I like very much. I plan to wear these to the gym and for backpacking/hiking, so I prefer something that's sitting above my hips.


The waistband insertion is genius - you sew your band in a circle, serge or zigzag it to the top edge of the waist, fold and zig zag down. Done and done. None of the traditional threading elastic through with a hole in the back kind of stuff. I'm definitely going to use this method for any other elastic waist that I can!

You can see the lines (and how pretty the guts are!) from the insides. Here's the front:

And here's the back:


Oh gosh. I realize that these aren't hemmed in these photos. I promise I hemmed them! I just serged the edges, turned up and zig-zagged! If you're unsure about sewing yoru own leggings, or you just want to play around with more knit fabrics - get this pattern!!

Tuesday, December 9, 2014

Completed: Renfrew the Stripey!

If you can't view this in your email (Mom, Aunt Theresa!) Click HERE!


I love Sewaholic's Renfrew. It has completely changed my sewing mojo for the better. This is such a fast, satisfying project. I've made three so far, with a few more planned. Additionally, it's such a great step into knits, which ARE NOT SCARY AT ALL.


Cutting out stripes - so many pins! 
 
 
The traditional "off by one" error. This only happened on one side seam, so whatever. I don't care, judge all you want!
 
 
Sleeve cuffs. Stripe matching is....I think I did ok here for my first time! 
 
After a day of wear, I ended up cutting a larger/longer hem band and it's perfect!
I've been meaning to take photos of this shirt for like, 3 weeks. Deal with my bad choice in undergarments. Sorrynotsorry.


Not sure what happened to my face. Ah, timer photos!


LOOK AT THAT HEM BAND!


Crowning frigging achievement. STRIPE MATCHINGGGGGGG


Lookit my cowl! OK SEE YOU LATER!
Next Post Previous Post Home