






header

Wednesday, May 13, 2015

Completed: 1425, a Purple Peplum


I put this together to wear to Seder Dinner at our friend’s house. Since it's a family religious dinner, I wanted to look nice.

The fabric used was from the stash - a purple/yellow plaid shirting. I didn’t take the time to match the plaid, but they’re faint, so I think I don’t care.


I wore it with a mabel-style RTW skirt, leggings and uh, sweater boots.


Sleeve pinned on.


Like most of the other reviews I’ve read about this top, what were they thinking on the back closure?? It’s three buttons. Like nearly everyone else, I modified this and used a yellow zipper I had in the stash instead.


The peplum style is certainly trendy, but after I wore this top I found I liked it quite a bit, and it seems pretty flattering! I made a size 4, and used smaller seam allowances at the waist so I didn't need to grade. That was kind of not necessary because the top ended up being rather roomy. I also had to scoop out a LOT from the arm holes. I don't know if it turned out that way because I did something wrong or what, but they were incredibly restrictive.

I didn't get all fancy to make that change - I basically put the top on myself and used my removable marker and just drew a new line where I wanted the arm hole to drop to. Once I cut that out of one side, I used the cut piece as a template and cut it out from the other side so they matched. I also used that template piece and transferred it to my traced pattern.

I'd like to make this top again, it's pretty comfortable to wear and the cap sleeves are cute. Plus it was very easy to put together!

Monday, May 11, 2015

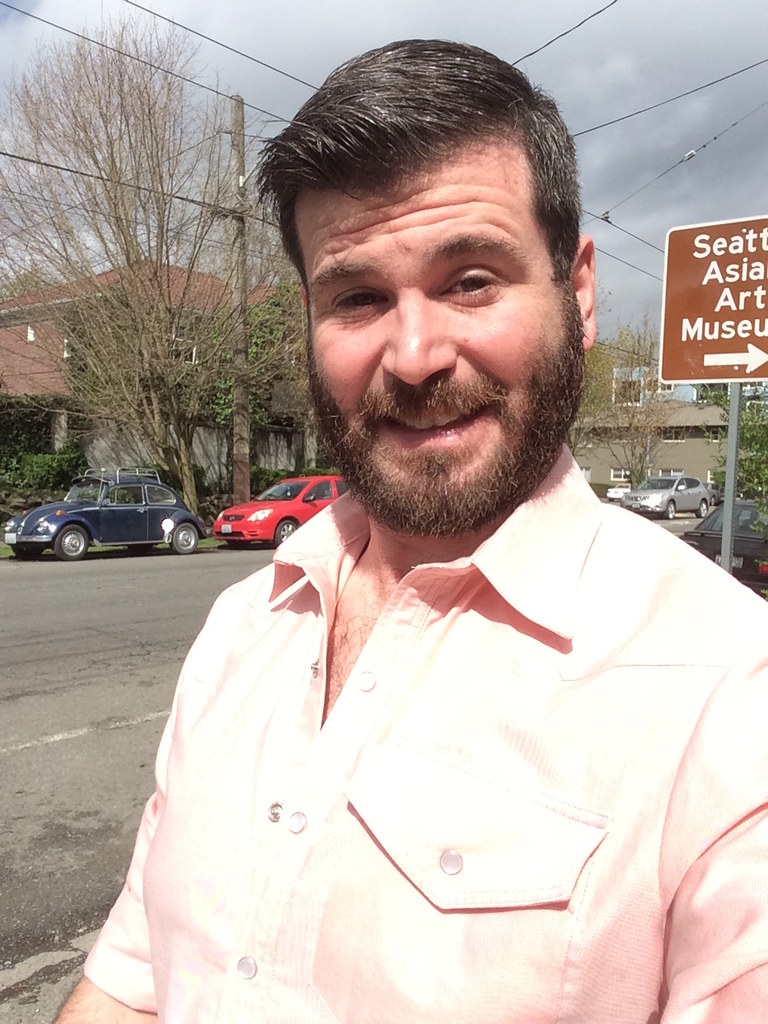
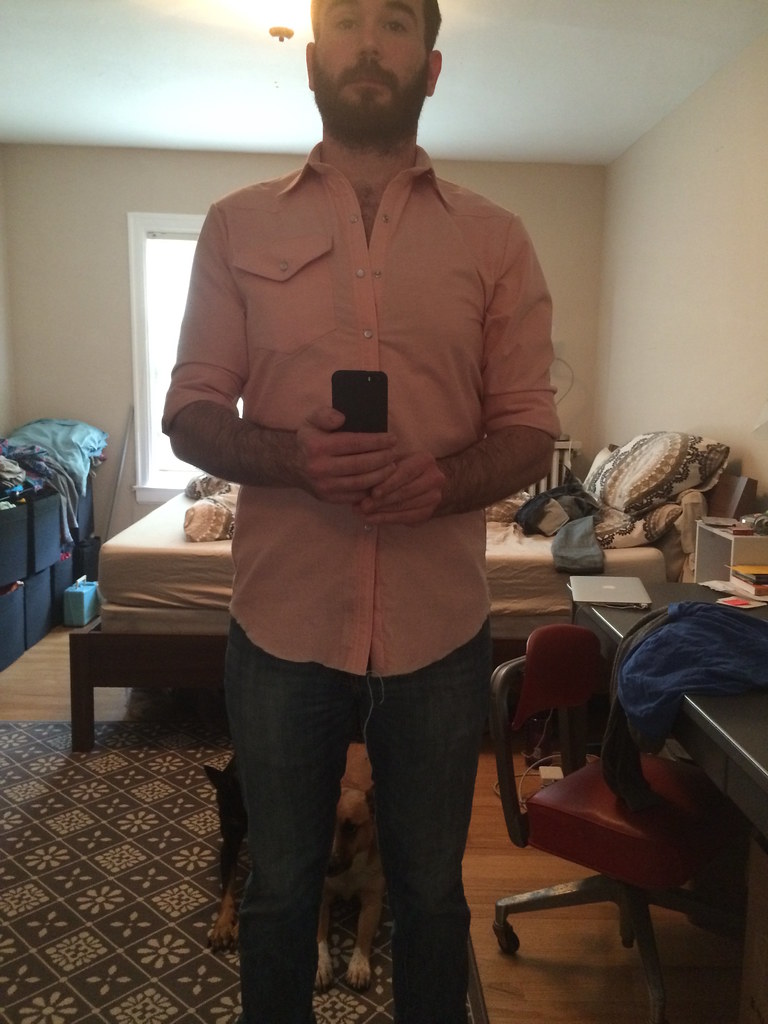
Completed: A Pink Western Shirt for Him

I’ve been bit by the shirt making bug!

Enter: McCalls 6044, View E. I’ve seen this made up a few times around the internet, so I got out the measuring tape and ended up tracing a Medium. The fit is spot on, though according to the size chart I should have done a Large in the chest. As a rule I always look at the finished measurements, which is a good rule of thumb when it comes to the big 4, in my opinion.


This was one of my first finished garments on my new sewing machine, and the topstitching on the pocket really transforms this from being just a handmade garment to really having that professional finish.


The pattern has you just place the front and back yokes directly onto the shirt front/back and topstitch it down. This gives a really nice clean finish.


Completed pocket with Pearl Snap. This was my first go with Pearl Snaps, and I have mixed feelings. I bought some cheap dritz brand ones, and I do not recommend them. These, from Snap Source, however, are AMAZING quality and super fast shipping. I am using the dritz tool to install them, but I think the tool is for smaller snaps, so I’m alternating between using the tool and just using some pliers. I have since used snaps on another project and accidentally cracked one using the dritz tool.


Cuff attached, waiting for snaps. Loads of topstitching, but it really makes the shirt!


Front placket while being worn. I used the standard placket that comes with the pattern, but after being assembled, it turns out that the top placket is a little on the small side. I have since made changes to that pattern piece so that it’s about 1/2” larger. I also want to experiment with extending the right front piece so that the under-placket is just folded under.


Practice Sleeve Plackets. For these I used Pam Erny’s two piece placket tutorial, and it is something amazing. I highly recommend everyone try this out. Her instructions are incredibly clear, there are tons of photos and she roots for you along the way. These are my first plackets, and I think they turned out GREAT!


Nearly finished! I also converted the two-piece sleeve into a single piece by just overlapping the sleeves at the stitch lines, and then traced it as one piece. I serged the side seams in a fun blue color (also: I was lazy and didn’t want to rethread my serger) but next time I’ll probably french-seam because he likes to wear his shirts with the sleeves rolled up.


I think that's about it? I've got three more cut out (Yikes, they've been sitting there for a MONTH!) and just completed the fourth that was cut out. I'll blog those all in one post, I think.


Me Made May 2015, Week 1

I have a huge backlog of projects I would like to blog about, so this is just a quick post for the first week of Me Made May, 2015. This is my first time participating, and it's been great so far!

Not pictured, of course, are the days I wore a Watson *under* my clothes!



Of the four items posted above, three (!!) are unblogged. I've been very busy at the machine, and not so much behind the blogger entry box!
Top to bottom:
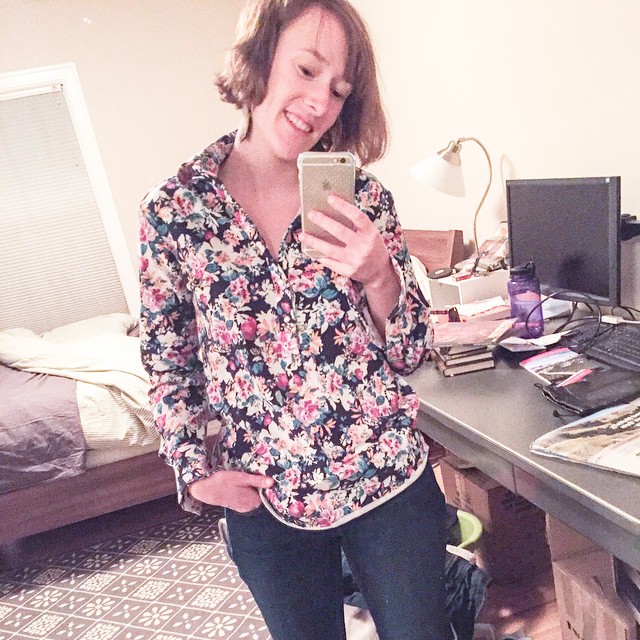
-Unblogged Archer Popover in a floral cotton knit
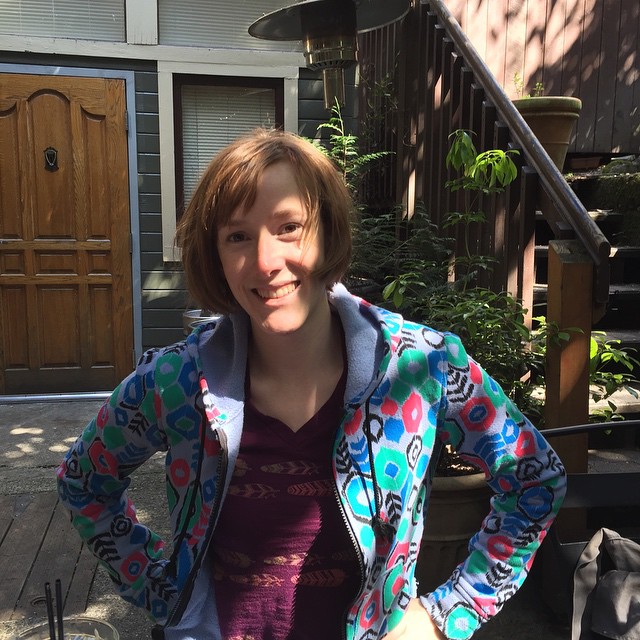
-My favorite hoodie (this thing gets a ton of wear!)
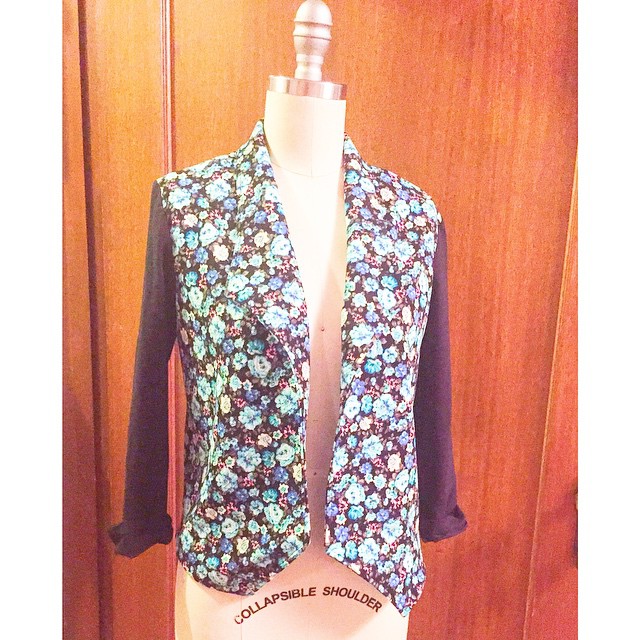
-Unblogged Morris blazer in blue floral textured double knit + black knit
-Unblogged Morris blazer in red & orange floral textured double knit + black knit (because I liked the first one so much!)

Tuesday, May 5, 2015

Completed: A Black "Collegiate" Style Hoodie


Another hoodie! Yay!

I originally bought this amazing silver and black ribbing with a Rigel Bomber in mind. It’s fantastic quality, by the way! I ordered it from Pacific Trimming in NYC.

I got the sweatshirt knit from Girl Charlee, and it’s 70” wide. I ordered only 1 yard but barely eeked out what I needed. Next time I’ll go for a tad more.

I originally thought that I’d fold the edges of the pockets under so they were a better finish but the fabric just ended up being too thick. I extended the pocket pieces by 1/2” all around to account for the potential change, so the pockets on this version are larger.

I used the same cording from my first hoodie, and a standard black zip.

After the changes I made to my last version, this pattern is definitely on the TNT list for me; it’s a quick make and looks great!

Tuesday, April 14, 2015

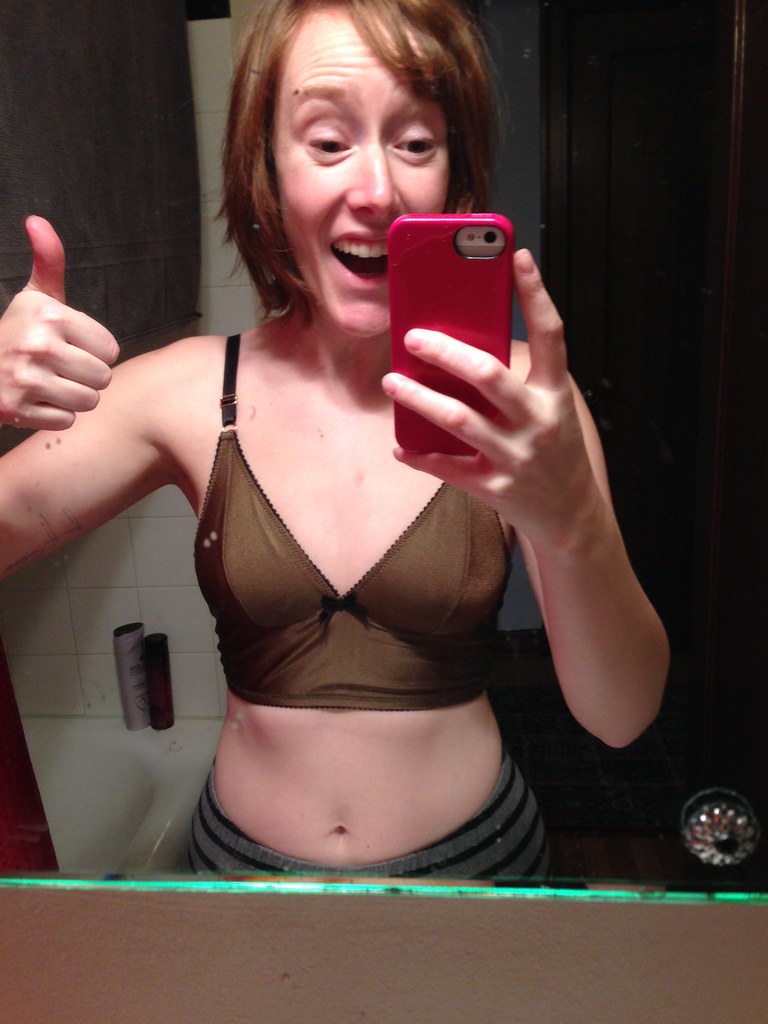
Completed: An Olive Watson


Guys! I **MADE** a bra! I also had this entire post written two weeks ago, and blogger ate it when I went to add some more photos. Apologies if this is short, I'm still annoyed that happened!


This is such a fast, satisfying make. I've really started to savor the idea of "slow sewing". I think after I've whipped up renfrews in a couple hours, "fast" fashion with less fiddly bits are losing their appeal. Give me details, sharp corners, precision!


I didn't think I'd ever make underthings. I'd seen a lot of the old-school bloggers doing this many years ago, and thought they were crazy. Well, here I am. The Cloth Habit Watson pattern came out in November. I liked it but still clung to my "making a bra isn't for me" attitude. Of course, I starting having Watson envy, because I saw all these amazing versions popping up everywhere, and I love me a soft-bra.


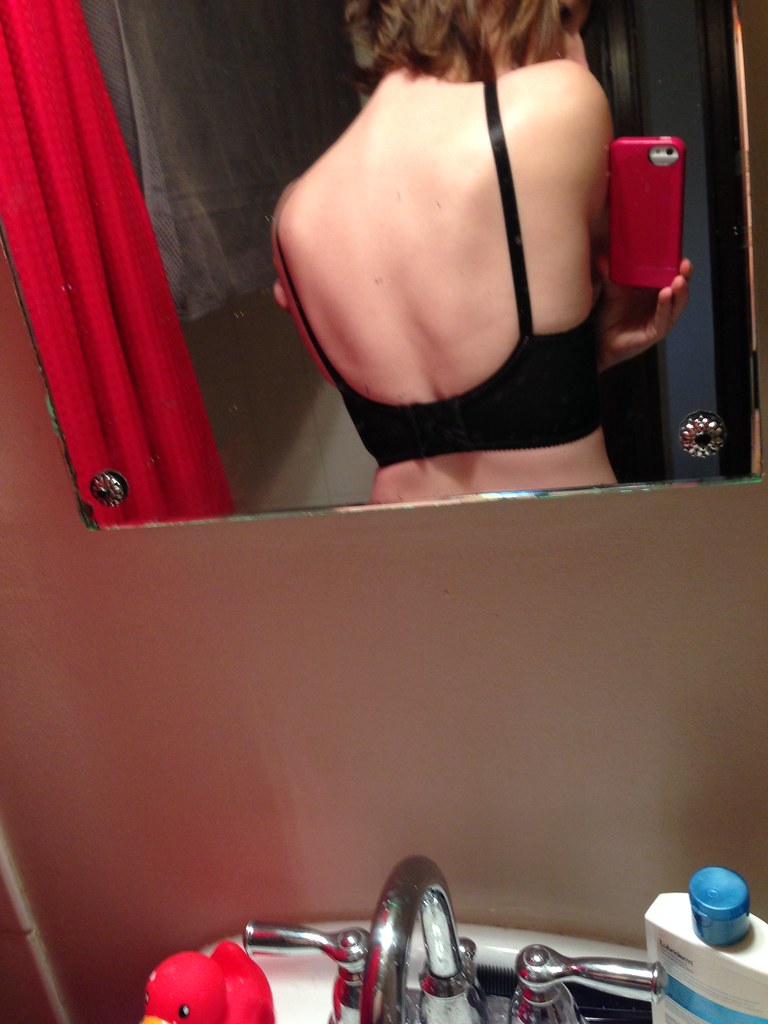
So I did it. I made this bra, you guys. I ordered a kit from Blackbird fabrics, and I cut everything out and I just took it one step at a time and it LOOKS like a legit bra. The hardware and the elastics are really what makes this.


I've since made a couple of other versions (I will hopefully write about those in a more timely manner than this one) and for my fourth version I've modified the back band piece to continue the slope from the underarm. I don't care for the curve of the straps where they attach to the back band, they typically don't sit flat and can cause some discomfort. My plan is to first attach the strapping to the back band RST, and then extend the underarm elastic all the way to the back on top of the strapping for the first pass, and then flipping it for the second pass. Will report back on how that works out.


One of the biggest things that kept me from moving forward faster, was the fear of setting in concave/convex curves. The last attempt I made was last summer for a bustier style top, which I was muslining for a dress to wear to a wedding.  Here's that muslin:


The inside is horrendous. Oh well. I'm kinda glad I kept that so I can look at it again. I think maybe I'll revisit that style.


It was all swears and seam ripping so I ended up trashing that idea entirely for my faithful McCalls 5850 with a halter strap added.


Three row hook and eye closure for the long-line style


I uh, got a new sewing machine, and the topstitching is DYNAMITE.


The guts! This was such a great experience, and I can't recommend this pattern along with the sewalong resources enough!

Wednesday, March 25, 2015

Completed: Self Drafted Leggings

I love to be comfortable. I live in leggings as much as I can, and while I love the ooh Lah leggings I've made, sometimes I just want a basic version without all of the seaming details.

So, I drafted a leggings pattern using this tutorial!

I used this Cotton Spandex knit from... GirlCharlee! Where else, right?

This is really more of a fabric suited to a t-shirt, as it's somewhat thin. I really only wear these around the house or with a skirt over top.


What is going on with the side shape of my butt? I guess that's probably some underwear lines!


Overall, the drafting tutorial is really straightforward. I think I either mis-measured my rise, or I didn't fully take into account the stretchiness of the fabric, but BOY that rise is HIGH (and I love me a high-rise). I actually ended up chopping a whole SIX inches off and it's still hitting at my belly button. I also need to adjust the back curve, because there is a bubble above my butt and it looks weird. Again, since I don't generally wear these in public, it's probably ok. In all, this was a fun exercise in dabbling in drafting, and I'd like to continue to tweak the pattern for a better fit!


I also made a second pair in my favorite 85/15 poly/spandex material:


I  call these my "smurf" leggings. They're pretty sturdy, and you can see I paired it with my Pneuma tank with matching bra. I'm like a modern day big city gym-princess. Or something.

In any case, I must admit I felt pretty fancy wearing my coordinating outfit to the gym, and that it was all handmade by me!

Monday, March 23, 2015

Completed: Baby Hacci Floral Cardigan


Another finished item! I've been on a tear lately, and I'd definitely say the inspiration is coming from a lot of my favorite blogs.

This is McCall's 6084, which is a pretty basic cardigan. Let's get one thing straight, though. I'm lazy. If I'm sewing with a knit, I surely don't want to be bothered to include finicky details like a dart. This pattern calls for darts at the shoulders, and I could not be bothered to execute those in such a drapey, fluid fabric. This is a baby hacci sweater knit from Girl Charlee's January KnitFix. (I may or may not have ordered two of those. HI BOYFRIEND, YEP JUST ORDERIN' MOAR FABRIC!)


This pattern has a self-facing collar that you simply turn in on itself. I tacked it down at the back neck to keep it from rolling forward. I also didn't hem or finish any seams. Remember: Lazy. We covered this!


Very pretty drape from the back. I love this floral!


I needed to do something with the excess where the dart *should* have been. I instead just made an inverted box pleat, which seems to be my go-to for dealing with fabric I don't want to ease or dart or generally deal with. #Lazy4Life


In the same vein, I also attached the sleeves flat, and inverted-box-pleated out that excess. One day I'll read about how to remove sleep cap ease so I can stop doing that. It's still a fun feminine touch, so it doesn't bother me any. Oh! I also shortened it by 10 inches, since I didn't want something to hit me at my knees. I have some more sweater knits, but I'm not sure if I like this pattern enough to make it again, so I'm still on the hunt for a good one!
Next Post Previous Post Home